No one, especially me, wants to leave that edge as ugly and rough as it is. But a more practical reason is light leaks.
Place the film back onto the camera body.
With a film mask still in, line up the camera body film gate with the film mask’s edges.
This will be the final placement of the back.
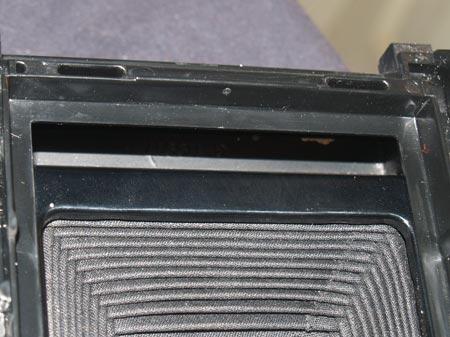
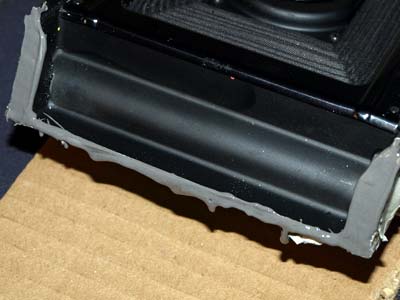
gap: top view
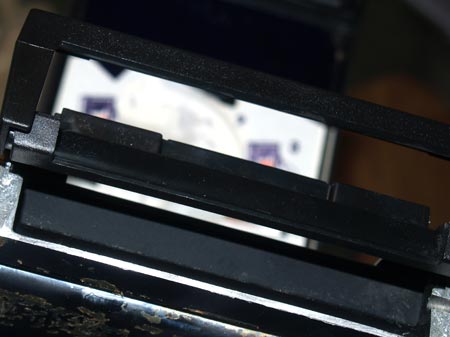
gap: bottom view
Trying to fit the back as is you will notice it is just a smidgen too wide to fit between the metal rails of the camera body.
Remove the empty film pack from the back, and notice that on the right side there is a gap typically covered by the film mask.
You must get this light tight.
Before this project I always used Bondo to fill in this gap.
But this time around I chose to try a different method and use a glued metal plate.
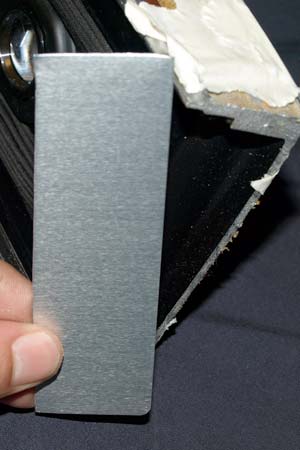
cut to size
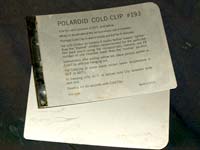
The easiest and most useful source for metal is a good ol’ Polaroid Cold Clip #193.
Its easily cut with sharp scissors and when polished matches the camera body quite well.
Place the cold clip against the cut.
Mark where you need and using something sharp, cut it out.
Remember that it needs to be flush with the film plane. So do not also include in the width of the piece, the extra 1/4″ or so that the rails take up.
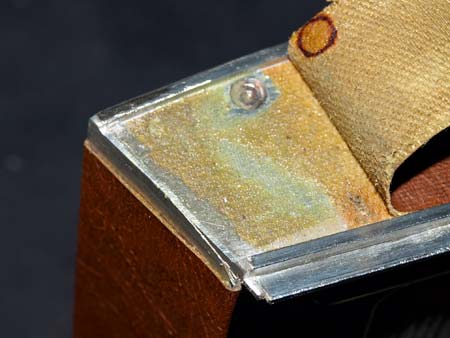
I made this mistake and had to trim it back once I glued it into place. See red area in photo below.
glue the edges
I used some JB-Weld to glue the plate into place. It dries a dark grey and can be filed which will make the edge more seamless.
Place the plate into place, line everything up as best you can.
Tape it down if you think it needs to be and wait until dry.
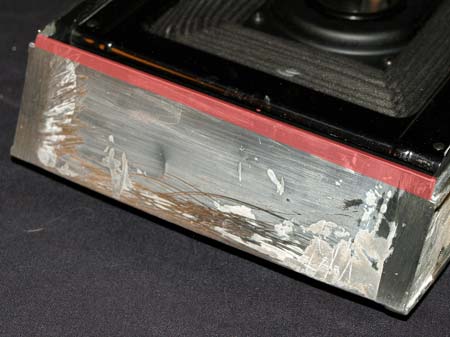
accidentally too wide; red area: remove to flush with film plane
Notice how I accidentally made the plate too big.
I did not take into account the film plane is below the edge of the rails. So I had to remove this red area.
If you were careful the first time, you won’t have this problem.
Once dry you can file all the edges you can see so that the plate and body are as flush as can be.
Pay careful attention to the areas that will be exposed when you cover it with leather.
With the plate securely installed and filed flush.
It still needs to be covered with something that keeps it looking original.
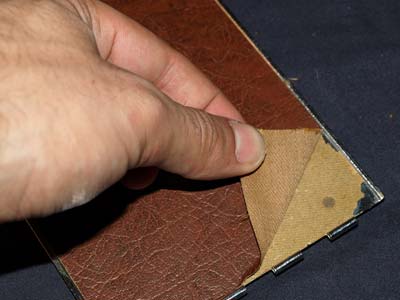
peel leather off back door
Once dry you can file all the edges you can see so that the plate and body are as flush as can be.
Pay careful attention to the areas that will be exposed when you cover it with leather.
With the plate securely installed and filed flush.
It still needs to be covered with something that keeps it looking original.
glue bottom and top leather in place
Take the peeled off leather and glue it to the plate.
I used contact cement which holds strong but can, if need be, peeled off if not left for too long.
Notice the uncovered areas of the plate, make this shine with some steel wool.
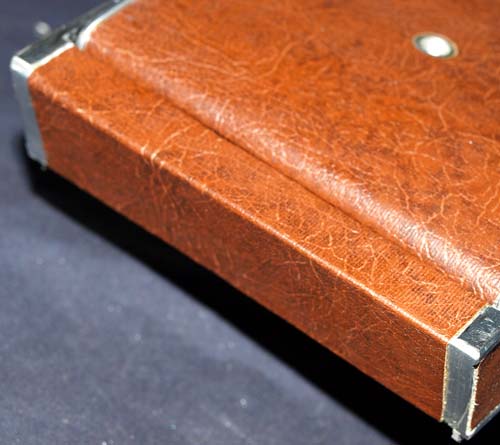
glue top and bottom leather in place
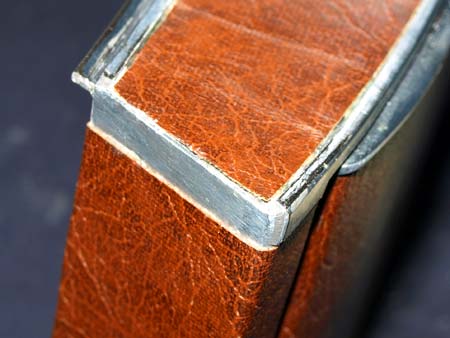
trim excess to fit
Turning attention to the top and bottom of the camera, glue each piece of leather back into place.
If you did everything right, and didn’t scratch up or tear anything too badly, this ugly edge should now look almost original.
.