The Steps
parts & labor
what's needed to get the job done
basics of function
overview of how to use the lens and shutter
the back, the strap, the lens
remove useless vintage roll-film parts; lens
the rangefinder
removing, taking apart
cutter-bar & inner parts
more useless vintage parts that have to go
ready the back
cutting; fitting the packfilm back; odds n ends
acquiring a 900 finder
removal & appropriation
fitting the finder & flash
measure, drill & fit
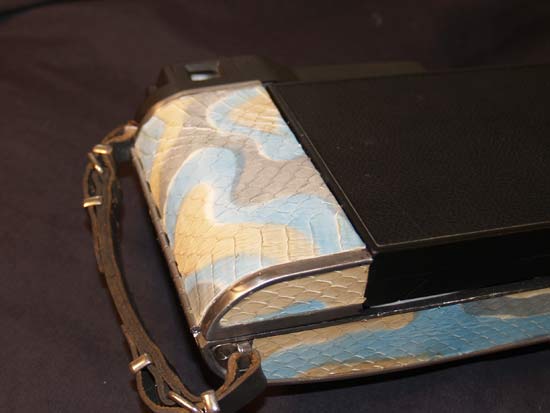
aesthetics
remove & re-leather; paint
adding the back & flash
screws, tape & wires
putting it all together
replace rangefinder, strap, flash & side door
reset infinity
setting the focus stop
completed
admire the work
Putting it All Together
With all the pieces in order, all the holes drilled and tapped properly, it is now time to make this 110A into a glorified 110B, sans the knob label of course.
First things first. Clean the glass elements of the finder. After decades of disuse, the pieces probably aren't too clear. Using some alcohol and a lens cloth worked for me.
I also dabbed a drop of hot glue to keep the pieces from sliding out.
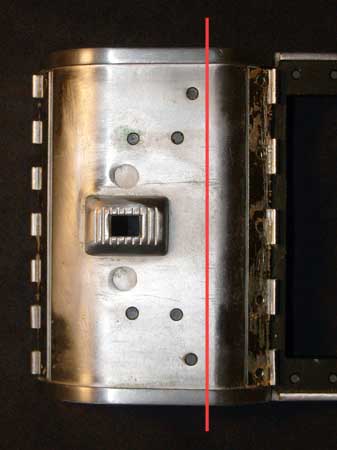
Replace the bottom plate. Don't forget to also screw down the strap piece using one of the longer leftover screws. Place the mirror box and align with the mirror post and the extra hole drilled earlier. Hopefully you marked infinity on the spring arm of the mirror box.
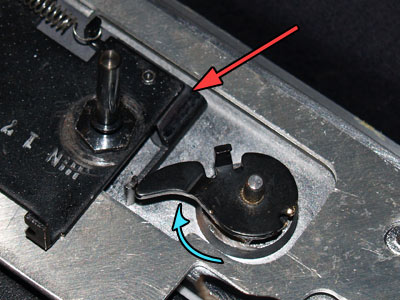
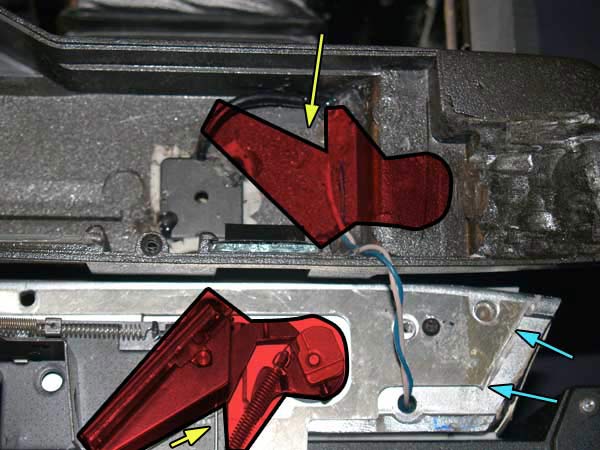
With the focus cam arm, rotate (blue arrow) it until set. Do this with the camera closed so you can be sure to not be turning the post, just the arm. Replace the cam and mirror along with both springs, yellow. Set the cam where the notch that is cut from it aligns with the similar one on the arm below it, screw it tight. Align the mirror's arm with the line on the cam.
The last thing to do is connect the flash. Open the camera and fold it out as far as it would ever go. Now cut the flash wire accordingly, leaving enough to connect the wires. The plastic housing has little space to allow for the flash wires, so trim short, but not too short.
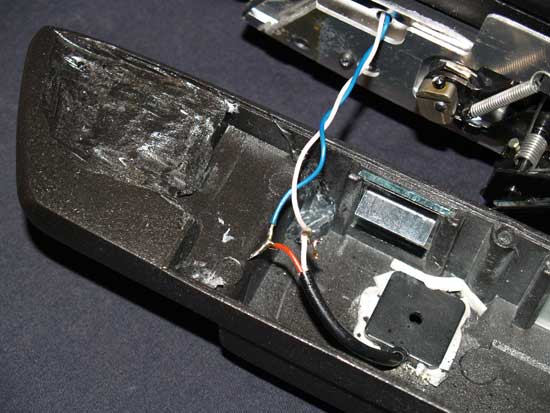
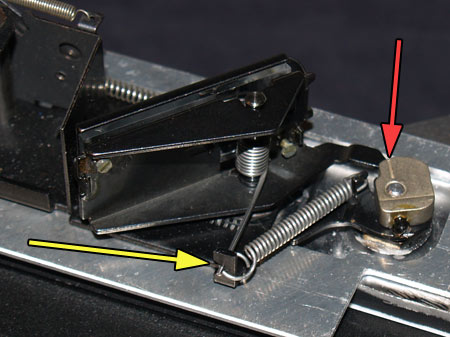
Once soldered, use hot glue to seal the connections. Because this make the connection a little thicker than the rest try to use the space behind the mirror, yellow arrow, to hide it. It will take quite a few attempts to close the housing and find all the places where you simply can not run the wires. When you have a path to run the wires, use hot glue to hold it flush.
Replace the 2 housing screws. Because of the missing flash screw, this side of the housing seems to want to stick up a bit. Not a huge deal, but I used some hot glue, blue arrows, to hold it down instead of the original idea of double-sided tape.
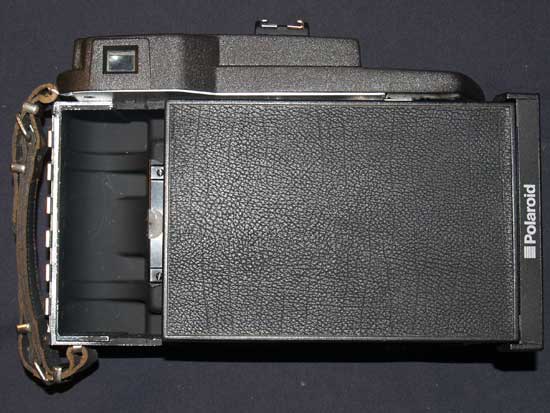
Hmmm, something seems to be missing from this camera.
Oh, that's right, the back door!
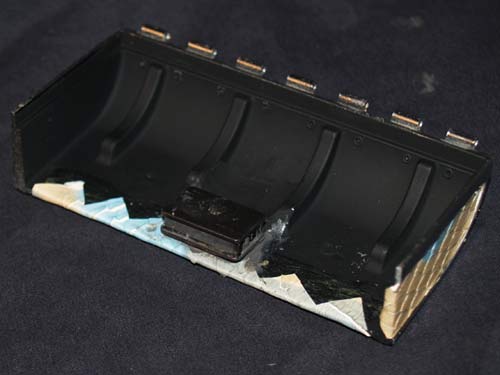
It needs to be cut to size and fitted with a means to keep it from flopping open.
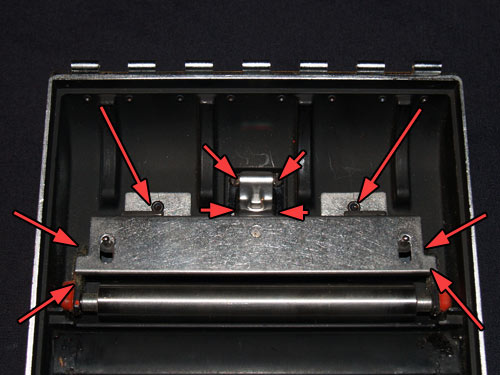
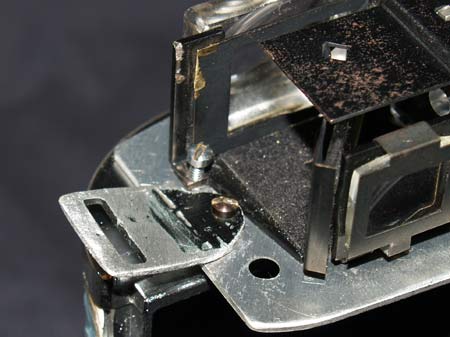
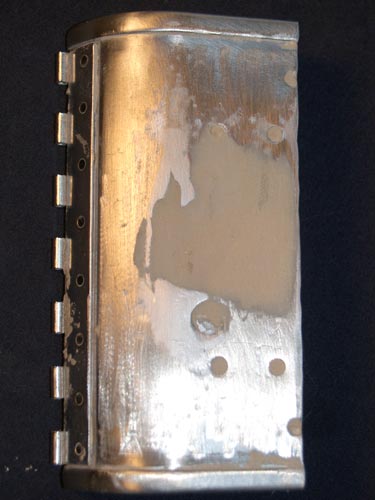
There is no need for all this extra crap inside the door. Remove the 4 screws holding the red switch along with all the rivets. Drill or just yank.
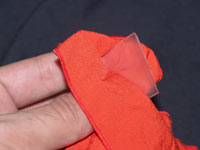
Remove the leather pieces and use them to trace new ones.
Measure the width of the door, be careful when cutting to keep it as straight as possible. Grinding to flush is your best bet, so be close but not too close. While I was at it, I thought I should remove that useless red switch.
Once cut you need to fill in the gap and rivet holes. A few layers of body filler and some cursory sanding is all you need, this will be covered with leather so smoothness is not required. Test fit the door and grind it to flush as needed. I spraypainted the inside flat black.
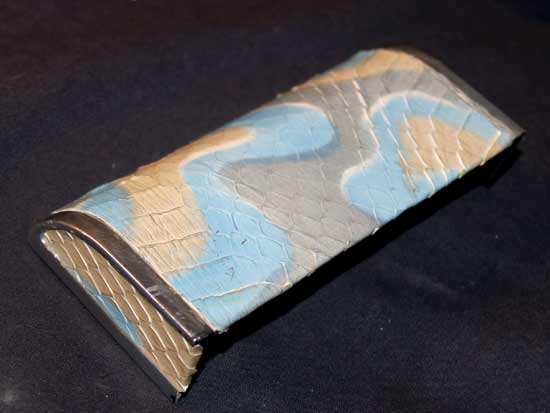
Fit the new leather and glue it to the door. When it comes to the edge, make a zig-zag pinking shear edge, this will fold over much easier.
Having a nice looking door is pointless if its going to flop open all the time. I've seen most solutions to this problem use a spring. Even I did that, but it was a pain and dangerous if done improperly. There has to be a better way!
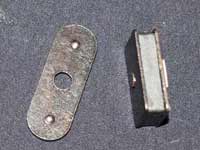
The cheapest, easiest and coolest way to keep the door closed is with that magical force: magnetism. Cabinet magnets from the hardware store work great. I removed the plastic casing to keep it thin.
Mix up a little JB Weld and glue the magnet to the back of the door. Place it so that when the plate is stuck to the magnet it is flush with the door's edge. Let the glue set overnight, setting the door on something that will keep it flat, as the door is curved.
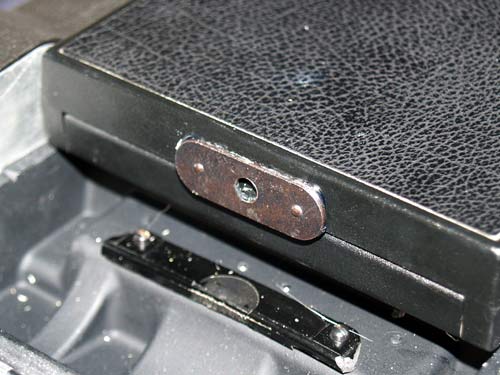
I used some good not crafty hot glue to hold the plate to the plastic back. Worked great and it helps to be able to shim the plate a tiny bit away from the back itself. Replace the hinge pin and admire your completed door.
The end is near!