The Steps
parts & labor
what's needed to get the job done
basics of function
overview of how to use the lens and shutter
the back, the strap, the lens
remove useless vintage roll-film parts; lens
the rangefinder
removing, taking apart
cutter-bar & inner parts
more useless vintage parts that have to go
ready the back
cutting; fitting the packfilm back; odds n ends
acquiring a 900 finder
removal & appropriation
fitting the finder & flash
measure, drill & fit
aesthetics
remove & re-leather; paint
adding the back & flash
screws, tape & wires
putting it all together
replace rangefinder, strap, flash & side door
reset infinity
setting the focus stop
completed
admire the work
Parts & Labor

The biggest part, and sometimes purchase, of this project will be finding a Polaroid 110A in good condition. While most who owned one took good care of them, some are better than others. Because this conversion removes alot of the original hardware the condition of the body is not very important, dirt and scratches can be fixed easily. When looking for any Polaroid Pathfinder, first and foremost is the condition of its lens. Sluggish or sticky shutters, scratched or marked glass, haze and fungus are all problems that can happen to really old vintage lenses.
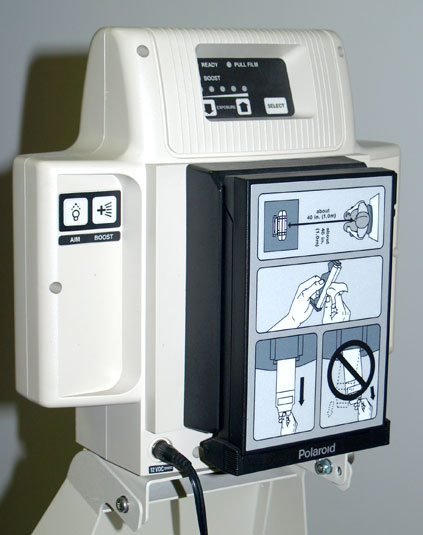
To give new life to this camera it needs to accept currently available film. For this project I chose to use an actual OEM Polaroid CB-103 film back. Mine was never used but its the same found on many medium format cameras. It is quite possible to use the hacked-off back from any number of Automatic Polaroids but for this project I wanted the cleanest look possible.
For instructions on how to procure a back from an Auto, check the steps I took with the Model 150 conversion. Some things will differ from my conversion if not using an OEM back. Take note where applicable.

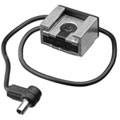
Since flashbulbs suck I'd like to use an electronic flash, I need a PC to hotshoe adapter. These are easy to find all over the place. I will be molding mine into the top of the finder. With it I can use my Vivitar flash that I use on my Canon AE-1.
For tools, a set of small screwdrivers, needle nose pliers, hacksaw and a rotary tool (Dremel) with some cut-off wheels and grinding bits. A certain step requires a power drill, or better yet a drill press plus some specialized bits.
If you plan on also releathering the camera as I am, you will of course need some new leather and some contact cement.
