The Steps
parts & labor
what's needed to get the job done
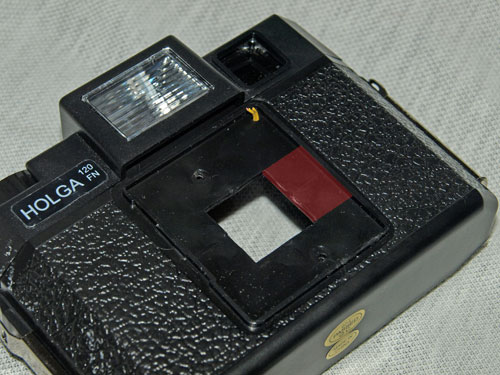
the back
trim the opening
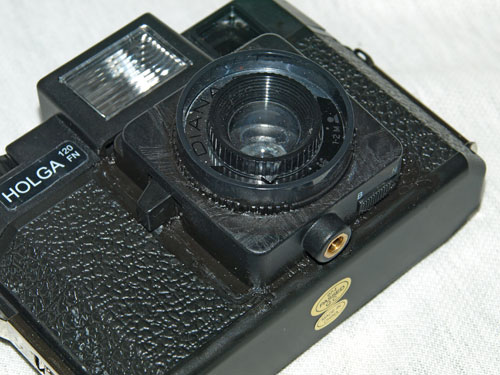
the body
gut the insides
lens assemblies
remove and retrofit
set infinity
focus correct
fix the leaks
seal the lens
center the lens
get a full frame
completed
photos and tips
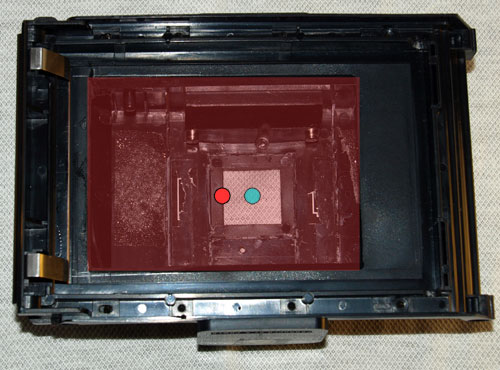
Center the Lens
When the person invented the Holgaroid adapter for packfilm they must have taken the off-center into consideration...somehow. I don't know personally, so I'll just say, its not centered and we gotta fix that otherwise, even with the Diana lens coverage, there will be vignetting.
The guts of the Holga have already been removed, and this is why.
Opening up this opening will allow the Diana lens to be centered over the film and produce a full frame image.
The ridge going around the opening is just about the right distance.
Cut the opening to here.
Speaking of the ridge, it would be best to keep the top and bottom parts at least, this will keep the lens assembly nice and straight. As well as provide a little light leakage protection.

Using the ground glass, or a best guess because you can't miss it really, place the assembly where it needs to be.
Remove the ridge poking out plus a little more so the assembly now lies flat against the camera body.
Glue the assembly to the camera body
There is no way this is light tight. So seal the glued edges with some black acrylic paint or similar.
Test your creation with ground glass and a bright light, check for full coverage across the film frame.