With this project I really wanted the camera to be unique. Not just in terms of it’s function, but its appearance as well. While this can be accomplished with a little bit of paint, I felt this project deserved a whole leather makeover. I have already removed the small piece that covered the cutter-bar screws earlier.
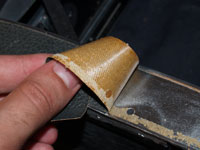
The easiest piece to remove is the strip along the bottom.
As well the piece by the miter cut, though small, is easily pulled off.
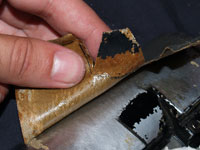
To remove the front leather, unscrew the front latch button.
There are a couple of edges and cuts to mind with this piece of leather when peeling.
The final piece of leather is the door. To pull it off in a single piece the focus knob and metal tab must be removed.
The focusing bed must be moved aside to get at the knob and the leather.
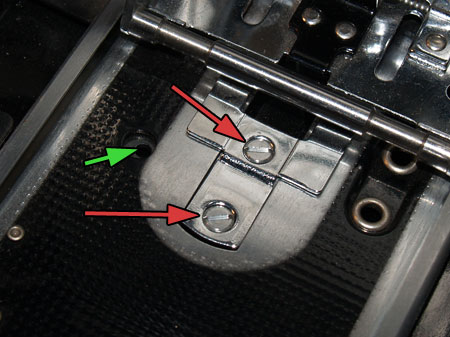
focus screws; green arrow: infinity stop

stop screws
Remove the 2 large stop screws and then the 2 smaller focus screws.
Note the hole by the focus screws, green arrow, this is where infinity is set with the focus knob when putting this all back together.
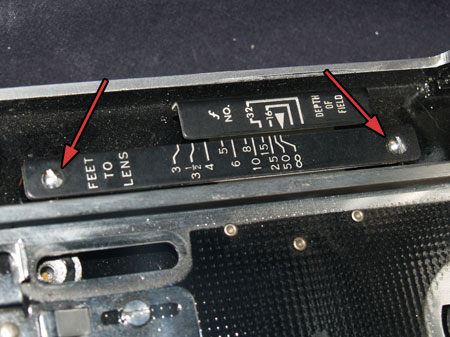
distance scale screws
The last part before the bed can be folded up is the distance scale.
Remove both screws and the plate.

push up red arrows; twist and slide tab, yellow arrows
Fold the bed up and reveal the focus knob and metal tab connections.
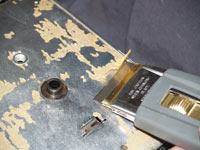
To remove the metal , pry the small tabs up while simultaneously sliding it into the small slits to the left.
The focus knob comes right off with the small bolt.
With all that out of the way, you can easily peel the leather back.
Before moving onto putting the new leather on, the back should be painted a flat black to minimize any reflections near the film.
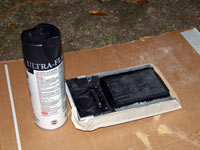
Make sure its a flat black and not a semi or gloss. Mask off areas you feel will get painted and shouldn’t be.
Don’t need to be perfect or fancy, most of this will be underneath the film back anyway.
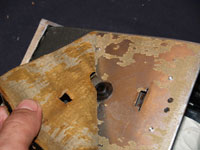
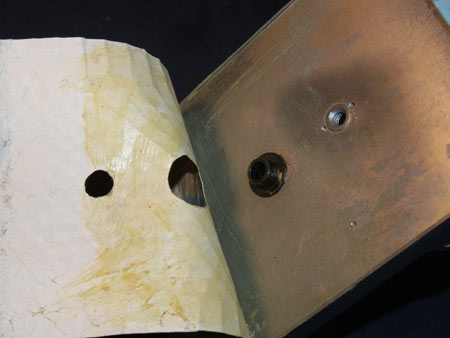
 The old leather left some residue that needs to be scraped off for a good bond with the new leather.
Use a straight razor to make short work of any problem areas.
To cover the camera, expect to pay around $40-100 depending on what you purchase; exotics can cost much more.
There are many sites out there that deal directly with camera leather.
Some even have kits cut to size with sticky backing.
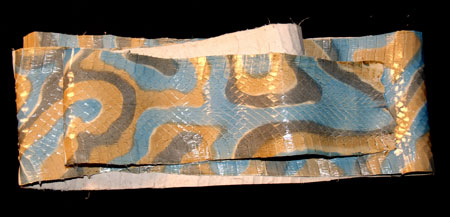
crazy snake skin
Of course, I want to make my job harder so I looked deeper into the strange world of animal skins.
I tried to look for something hardy, pretty, and above all unique looking.
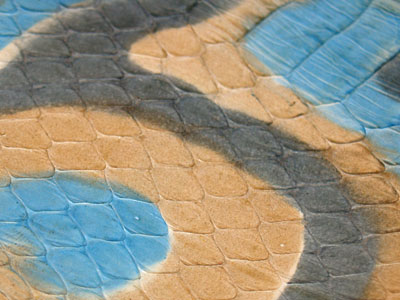
closeup
Luckily I found this colored and patterned snake skin leather.
It’s unique and was the right size for the largest piece I would need to cover the front door.
Since this skin was not made specifically for this application, great care needs to be taken when gluing and cutting.

tracing pieces
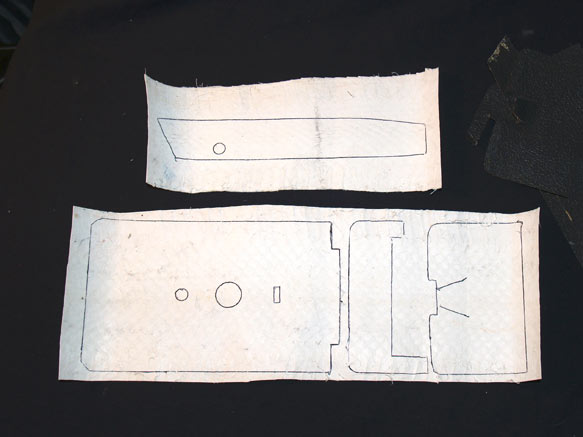
traced and ready to cut
I had placed the original leather inbetween some heavy books to get them nice and flat. I then used a pen to trace the outlines.
There was simply no way for me, or anyone with just an Xacto and scissors, could cut these pieces as perfect replicas of the original shapes.
So it was fit, cut, fit, cut…
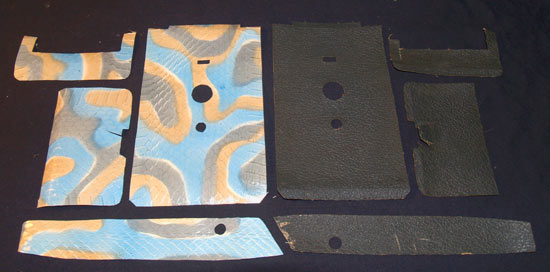
matched pieces ready to fit
A leather punch would make the circles a lot easier.
And possibly taking exact measurements, making a template of thick paper…next time.

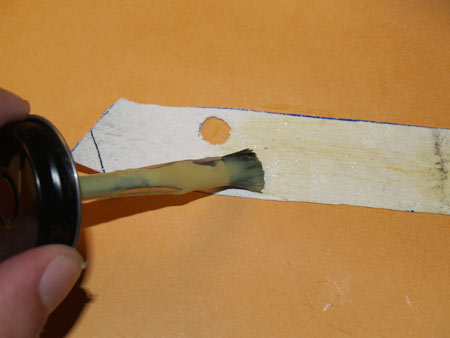
follow directions; apply to first surface
follow directions; apply to second surface
follow directions; press together
There are quite a number of ways to apply this leather to the camera.
Polaroid seemed fit to use a cement of some type. So I kept with this idea and used some contact cement.
The instructions ask to apply to both surfaces and wait till dry, then press together.
If you can find it, industrial double-sided tape is an alternative. Do not use regular office tape!