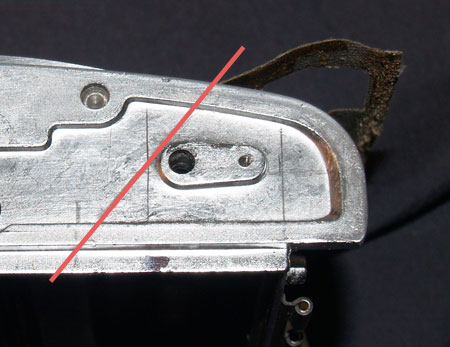
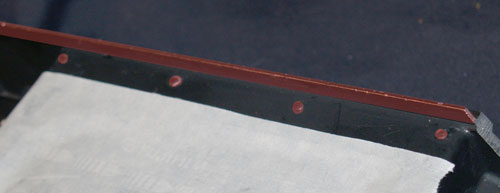
measure and mark; miter cut
Take your packfilm back and place it onto the camera body. It doesn’t fit. First, because the right side of the camera interferes with the packfilm latch. Second, because of the ridges running along the top and bottom of the camera’s back.
Insert a film mask from an empty pack of film into your back, this will show you where you need to align the back to center the image. For this back, a miter cut is a must. Using your measurements, find the points to mark where to cut.
Typically this is about where the edge of the cameras window is on the back, to about 1/4″or 1/2″ from the front hinge. Measure twice, cut once.
For this project, I wanted clean and straight, so luckily I found this bad boy. An industrial bandsaw that will do the cut cleanly and quickly. You can also use a Dremel or a hacksaw to do the cut.
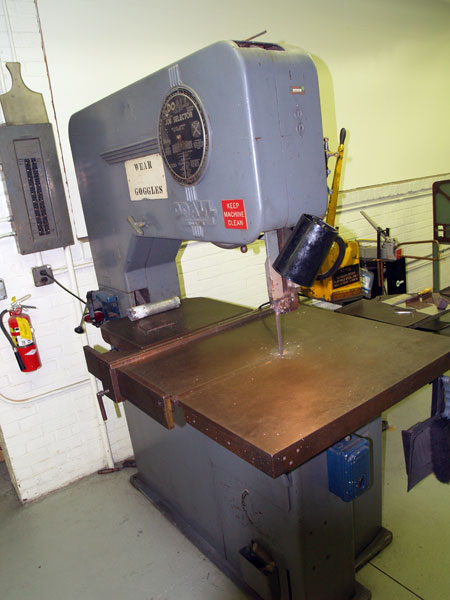
industrial bandsaw badboy
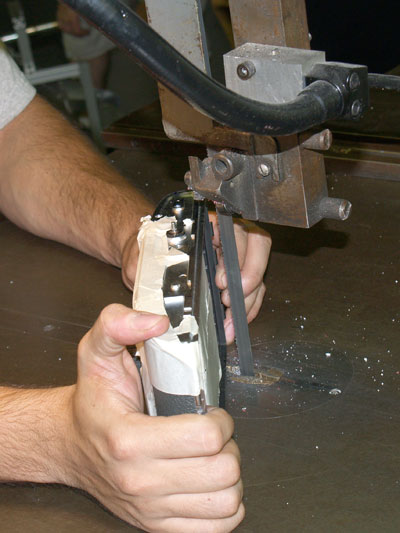
hold or clamp; watch those fingers
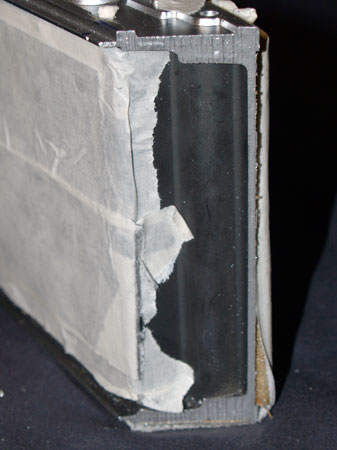
finished
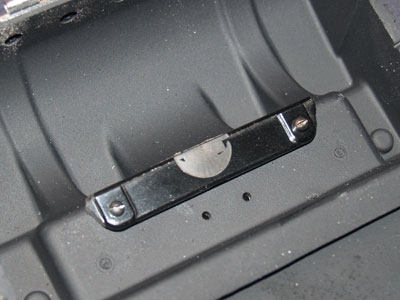
ridges and rivets
The ridges need to be cut off flush and at the same time the rivets need to be ground down. Cut the ridges off but leave some ridge on the left side.
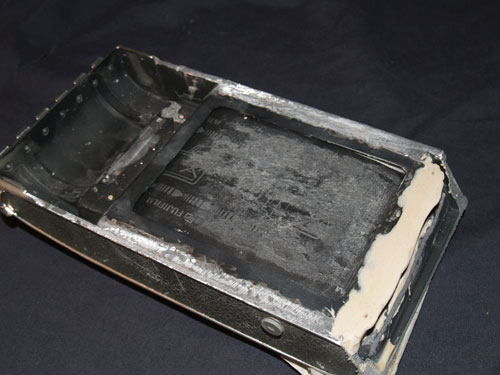
flushed and finished; Bondo the edge
I noticed that with this particular back, the opening for the film is wider than the actual film and mask. This left a gap when there is no film in the camera.
Afraid of light leaks, I used some Bondo to add to the right side.
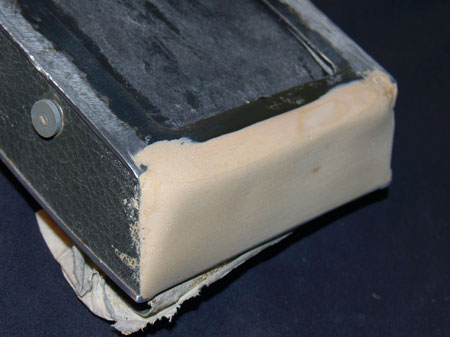
Bondo-ed and smoothed
FYI: I use aluminum plates in my professional work.
While I had the Bondo out, I filled in the right side.
I felt that this would give it a seamless and smooth look.
What you do with your “ugly edge” is up to you.
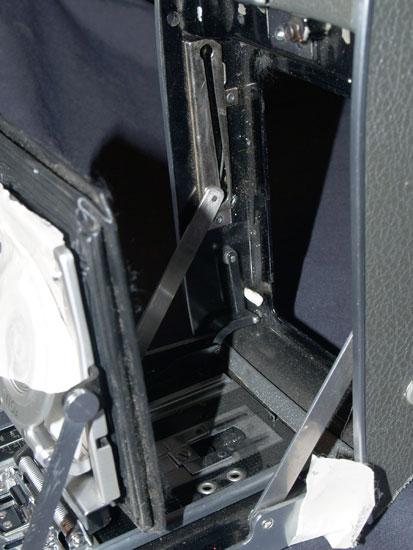
remove the bellows
With the film plane flush. Test fit the packfilm back and notice it won’t stay in place by itself.
Originally, I used JB Weld to attach the back. This time, I will use the mounting screws that came with the back.
cut the spool to size and screw in place
Cut the leftover rollfilm spool to cover the pin and spring hole.
With the camera open, insert the pin with the spring behind it.
Using the original screws, replace the piece.
Now the front will spring open again.