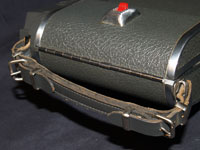
 It would be a bad thing to ruin this lovely piece of old dead cow skin. Remove the strap by undoing the two buckles. Set it aside until the end.
If yours is damaged, use the parts to make your own from some craft leather or fabric.
To open the back of the camera, you need to unlock it. Along the front is this latch.
Bring it down and the back should now be able to open.
Fold the doors out, first the outer door to the left, second, the inner door to the right.
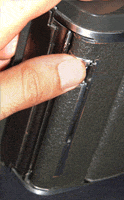
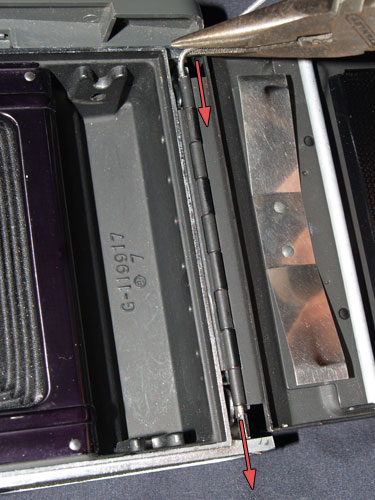
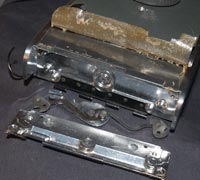
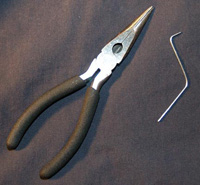 To remove the back doors you need to pull the hinge pins. Grab pliers and a bent paperclip. I had an extra hinge pin lying around and used that.
Be careful not to scratch up the camera body when pushing and then pulling the pins. Not a big deal, but a scratch is a scratch.
push and pull the pin
push bent metal from top and pull out
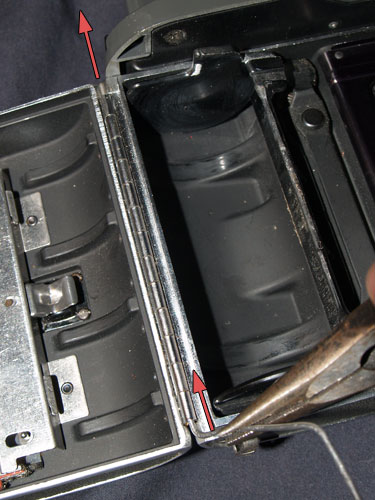
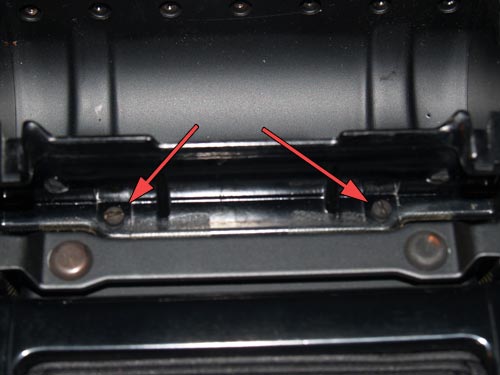
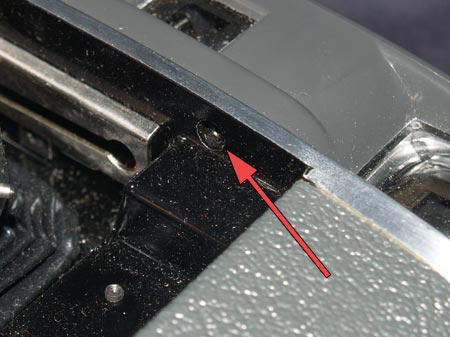
To get the right side out you need to work within the tiny space between the finder and the hinge.
With the camera few pounds lighter, you really should remove the lens to keep it from getting dirty or scratched for the rest of the project.
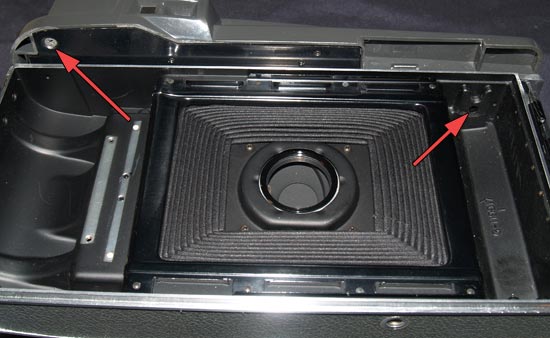
remove 2 screws
While we’re back here, lets go ahead and get rid of the rollfilm parts along the left.
Remove the 2 screws to get the plastic spool out.
On all models but this 160, there was a hole underneath here that held the spring and pin that popped out the front door.
One less thing to worry about!
pry out the spring bar
Simply pry that spring bar out of there.
I have no clue what this did with rollfilm, but the springs look cool.
peel up leather and remove 4 screws
The right side has the cutter bar for the rollfilm. It is held in place with 4 screws. Two of which are under the leather.
If you are releathering like me, just peel it off.
If you will be keeping the original leather, peel it back carefully so it can cover the cut edge that will happen later.
Ignore the fact I removed the finder already in this photo…
front screw location
Next to go is the entire finder housing and internals. It will be replaced with one from a 900.
The front only has a single screw.
rear screw locations
There are two on the back.
The right side is a bit tough, you’ll need a philips head screwdriver small enough to fit into the recess.
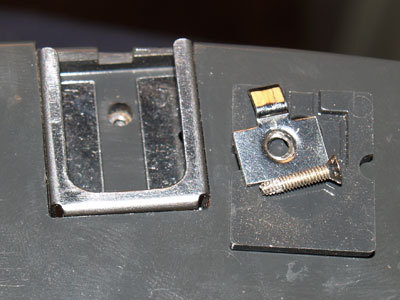
hotshoe pieces
The hotshoe contains the last screw. Its wired to the lens’ PC flash socket by 2 wires.
Remove the screw, metal contact and plastic spacer.
What you don’t see is one of the flash wires within the finder housing held to the flash shoe.
You may cut them unless you plan to use the shoe, and you shouldn’t.
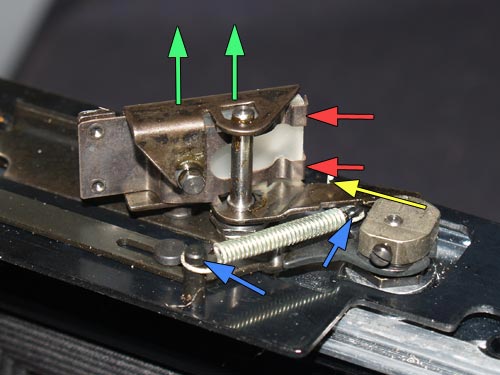
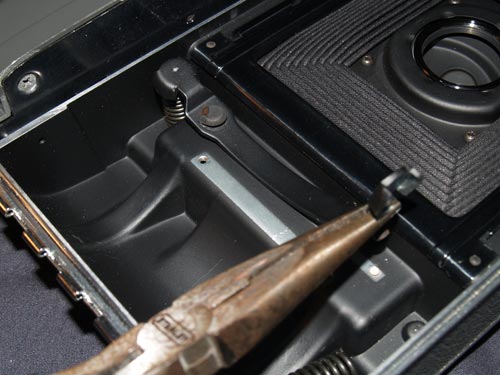
remove spring, yellow arrow; push tensioner, red arrows; pull up; unclip spring, blue arrows
With the plastic housing out of the way, remove the mirror by unclipping the small spring wire, yellow arrow, pressing on the tensioner, red arrows, and pull up when loose.
Unclip the spring, blue arrows.
Locate and remove the 3 screws and single small bolt. Ignore that the mirror is still on in this photo.
Take off the finder plate, set it aside, you will need it later.
red arrows: screws; blue arrow: bolt

unscrew mirror post and small bolt,red arrows; unscrew cam tension screw, blue arrow; pry up and off the cam and arm
Now simply unscrew both the mirror post and the small bolt holding the stationary mirror.
The cam is held by the small tension screw.
Once loose, just pry up the arm and cam, don’t need them anymore.