The Steps
parts & labor
what's needed to get the job done
basics of function
how does the camera usually operate; what parts do what and go where
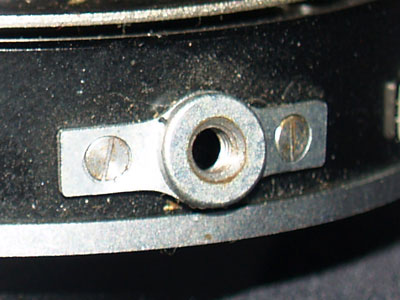
the lensboard
removal, gutting & measuring
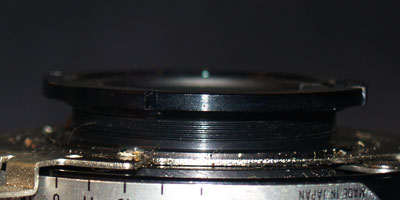
fitting the lens
cutting, sizing; infinity focus
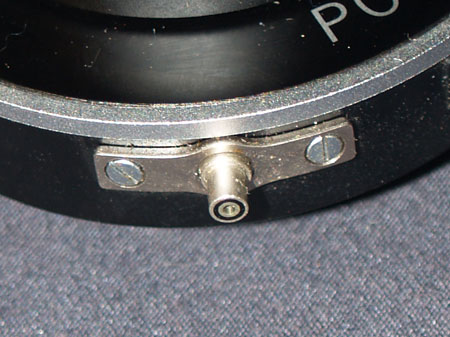
release
adding a cable release
the unfortunate end
reset infinity; I broke it
Parts & Labor
This conversion deals directly with the Automatic 250. It, along with a few other models, is made mostly of metal. Which really gives it a solid construction allover. Some people choose to just take off the Zeiss finder and put it onto a plastic body model, saving on weight.
Not me.
Other than the 250 itself, you'll definitely be needing a lens. The focal length of the 250 is 114mm, and it is very difficult to find a 114mm lens/shutter. It seems anything from about 90mm-130mm will work fine, though, the further away from 114mm, the more adjustments to the finder and hacking to the body that will be needed.
Medium and large format lenses, with shutters like Prontor, Copal or Compur will be the kind of lens to look for. Preferably with x - sync and cable release sockets. Some people choose to use the lens from a 110A/B or press cameras like Speed Graphics. Preferably yours will have a retaining ring.
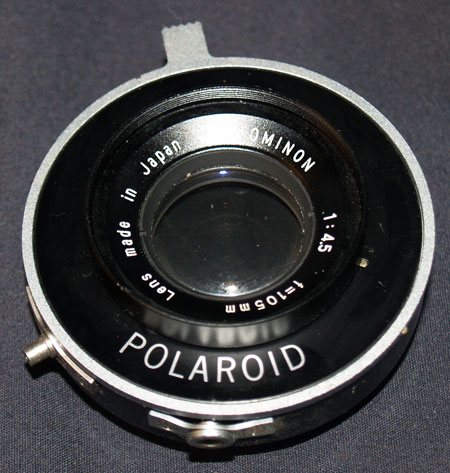
I had some Tominon 105mm in Copal shutters lying around, which not only match the 250's color scheme, but already have the Polaroid branding! As an extra bonus, this shutter is self-cocking.

For tools, besides your own self, you'll be needing small screw drivers, pliers and a rotary tool like a Dremel with grinding bits and cut off wheels. Measuring calipers may be handy but are not necessary.