The Steps
parts & labor
what's needed to get the job done
the back
trim the opening
the body
gut the insides
lens assemblies
remove and retrofit
set infinity
focus correct
fix the leaks
seal the lens
center the lens
get a full frame
completed
photos and tips
The Back
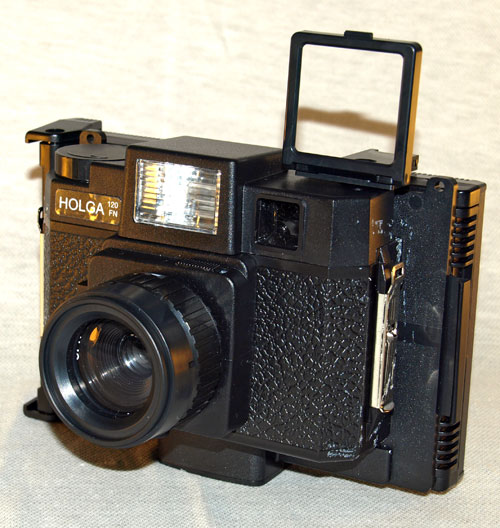
You will start with your Holgaroid camera. This is a flash model, but in the end the flash will be useless so try to get a non-flash model.
Holgas take square photos. So, the opening for the Holgaroid is square, which results in cropped and off-center shots. To fix this the opening must first be made larger to accommodate the full frame.
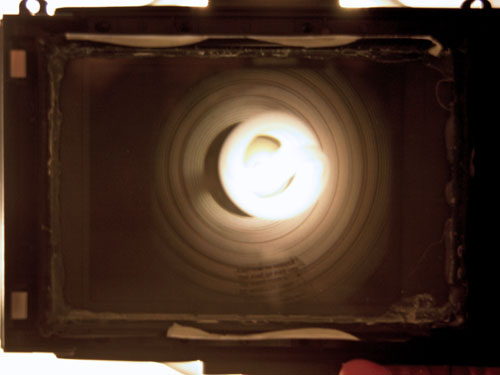
You can see here on ground glass that the left side of the frame is blocked (which ends up being the right side of your image).
Resulting in black edged photos like this.
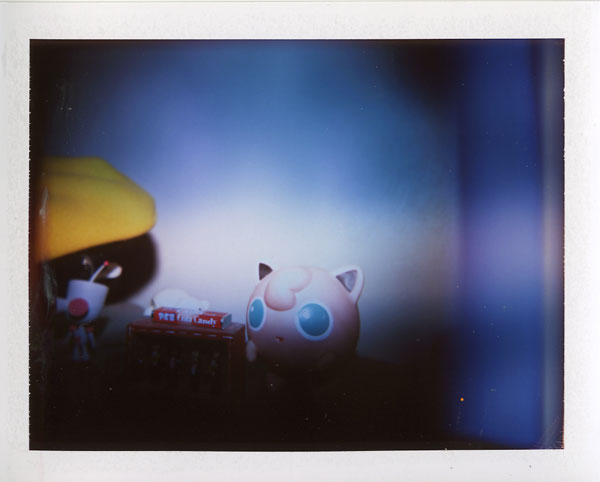
So obviously the first step is to remove the part of the adapter mask which is blocking the film.

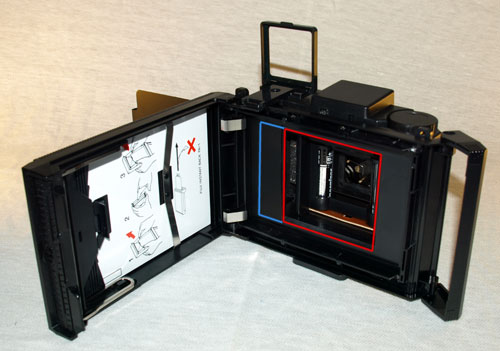
To attach, or remove, the back just slide the two locks along the side up or down.
Its such a simple and loose mechanism that alot of users tape this to prevent it from coming loose.
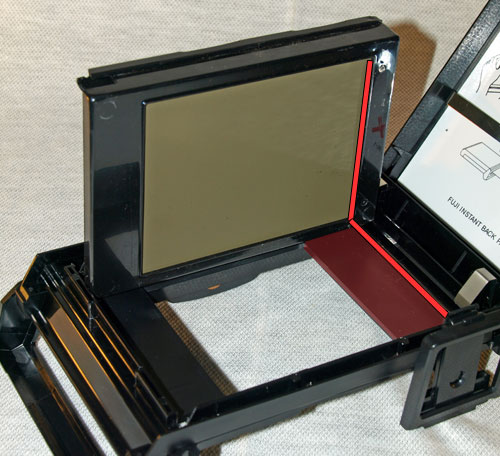
With a film pack inserted its easy to see where the cut must be made.
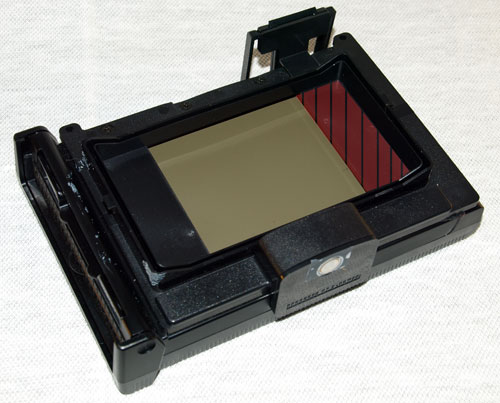
From the other side you can see that the piece to be removed is almost flush with the raised edge of the adapter.
Remove this piece of plastic and file down any rough edges. It doesn't have to be totally and utterly clean because it will most likely not show up on the film anyway.
With the back ready to expose full frame, the camera must now be made able to shoot full frame.