The Steps
parts & labor
what's needed to get the job done
basics of function
how does the camera usually operate; what parts do what and go where
the lensboard
removal, gutting & measuring
fitting the lens
cutting, sizing; infinity focus
final touches
painting and assembly
does it focus?
test focusing
completed
in all its glory
Parts & Labor
This conversion deals directly with the Automatic 250. It, along with a few other models, is made mostly of metal. Which really gives it a solid construction allover. Some people choose to just take off the Zeiss finder and put it onto a plastic body model, saving on weight.
Not me.
Other than the 250 itself, you'll definitely be needing a lens. The focal length of the 250 is 114mm, and it is very difficult to find a 114mm lens/shutter. The easiest length to use, I've found, is a 127mm. It requires the least amount of destruction and tweaking to the camera body.
You can find 127mm, also known as a 5" lens, on many types of cameras. From 110A/Bs, Speed Graphics and the like. I found mine in a CU-5 macro camera.
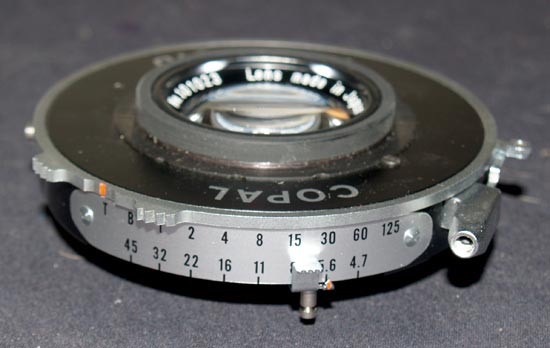
This 127mm Tominon in a Copal shutter was a nice find. Not only does it have x-sync, a cable release port and is self cocking. It also has a shutter lever for finger tripping and a T setting which keeps the shutter open until you trip it again; very good for creative exposures.
For tools, besides your own self, you'll be needing small screw drivers, pliers and a rotary tool like a Dremel with grinding bits and cut off wheels. Measuring calipers may be handy but are not necessary.