The Steps
parts & labor
what's needed to get the job done
basics of function
how does the camera usually operate; what parts do what and go where
ready the camera
taking off useless vintage roll-film parts
hack to pieces
measure & cut the back
the pack back
make the back fit
the ugly edge
glue, cover, re-leather
the back side
attaching the back; making a door
reset infinity
setting the focus stop
completed
admire the work
The Back Side
If you haven't already, remove the rollers from the film back. The added weight will not make this next part easy.
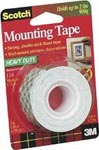
Double sided tape will make a great temporary attachment to the camera body. You do not need to use double sided tape, but it will make attaching the back less of a hassle. Try to find stuff that is labeled "heavy duty" and isn't the kind you can remove again.
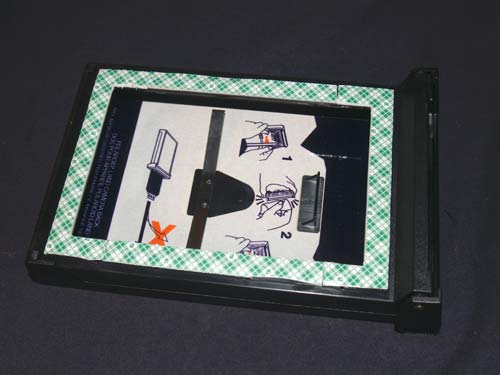
I cut strips to fit against the film opening and the small groove of the screw mounting holes. It would be too much to have the tape go all the way to the outer edges.
I also slightly beveled the edge touching the film plane to make sure it didn't block anything.
Make sure you have a film pack mask inserted and open the film back so you can line the film gate with the camera body's. Because the back has been shaved it should keep the back straight. You only get one shot with this tape, so make sure you have a mark made where you wish to place the back that you can line up with once you remove the tape backing. Press hard, the tape will do the rest.
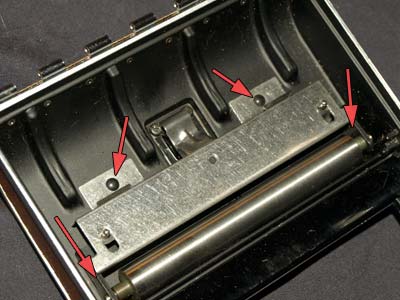
Grab yourself a drill and a bit that is slightly smaller than the screws you are using to attach the back.
Drill the 8 holes.
Use torque on the screws to get the back firmly against the body.
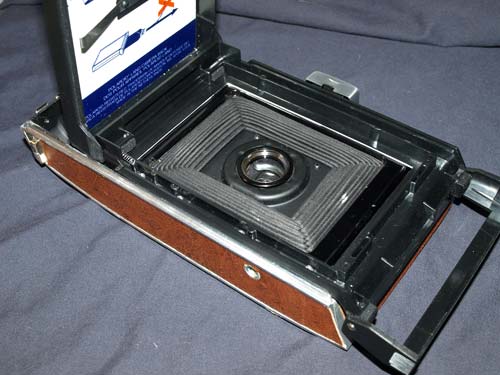
Now that the pack back is firmly attached, you can't leave that left side open and exposed!
Not only does making a small compartment door for the left side of the camera keep the camera as original looking as possible, it also can serve a useful purpose as well. Stuff a lens cloth, a timer, some smokes, whatever you can fit, in there.
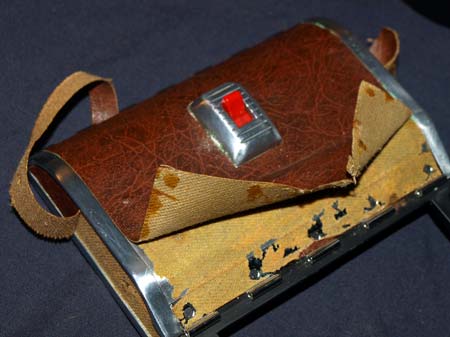
Because this kind of covering is in short supply, unless you have more than one model 95 to harvest from, peel back this leather to save it from damage.
Peel the large piece off completely. Gluing it back in one piece will save you from bubbles.
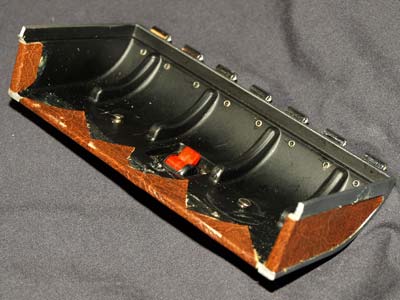
To get the door to fit, you need to remove all the dead weight from inside.
Carefully drill out the 6 rivets.
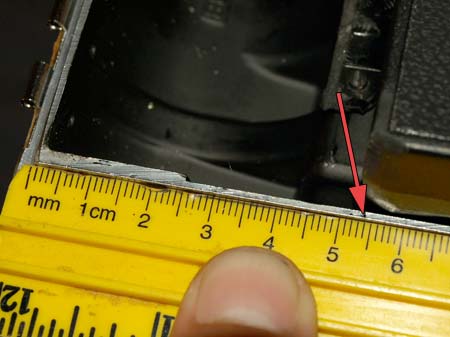
Measure where you need to cut the door.
Mark the door with a straight line.
Use a hacksaw to cut the door to size. Fit the door to the camera and make any adjustments by filing the edges to fit.
Trim the leather and use contact cement to glue it into place. Use a zig zag edge to make folding it over easier.
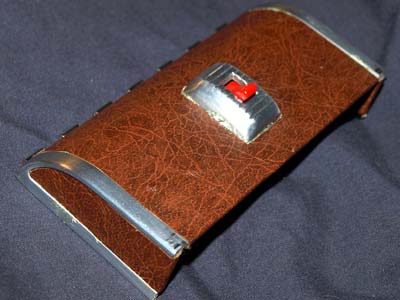
To get the door to stay closed I have tried many solutions. The best seems to be a friction tab that keeps the door closed by making it a tight fit against the camera rails.
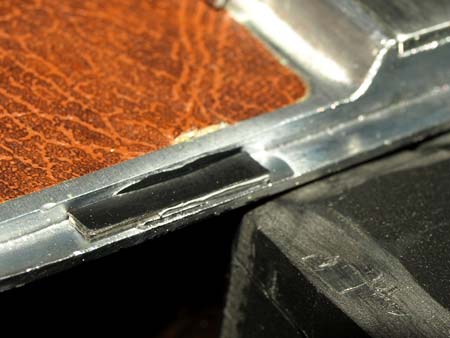
Since this camera has no finder housing my only choice for placement was the rail itself. A small sliver of a plastic pack film mask super-glued into place works like a charm.
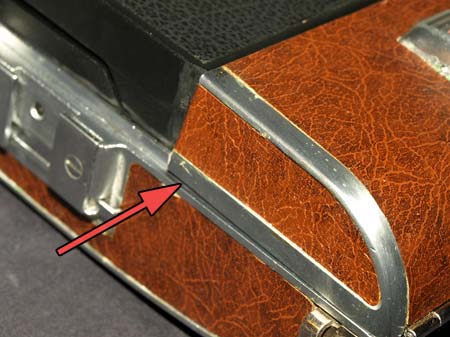
Check that the door closes and stays that way. Adjust the door as need be, but it should work right the first time.
Try to fit the tab where it won't be seen when closed.