The Steps
basics of function
how does the camera usually operate; what parts do what and go where
the finder
removal, opening, cleaning
the back
assess, clean
shutter assembly
remove, open, adjust, clean
batteries
modify to accept 3xAAA
completed
super sweet!
The Finder
Out of the 3 or so finders found on pack film cameras, this is second only to the Zeiss Ikon finder. It offers you two windows, one for focus and one for composition.
Whatever finder you have, it probably needs a good cleaning. Depending on which kind of finder you have, the removal may not be necessary or even possible. However, each finder can be opened and cleaned. If you can remove it, it makes cleaning it and the camera alot easier.
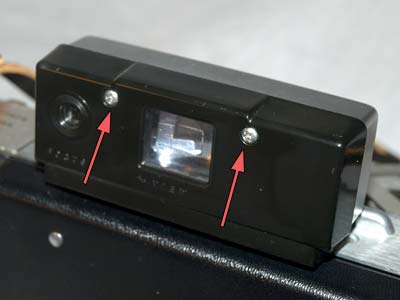
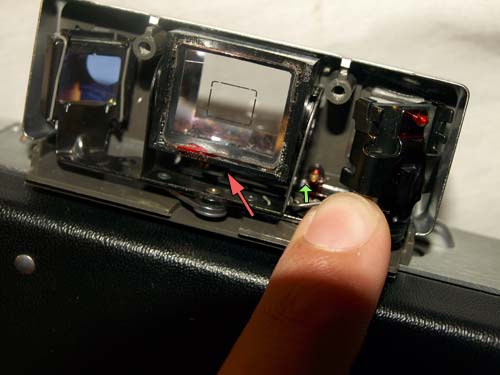
The finder folds down and is held in place with a magnet. To remove the entire finder assembly, you need to carefully pull the pin. To simply clean the finder, you only need to remove the 2 screws, red arrows.
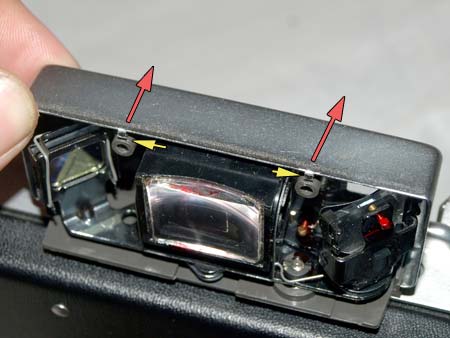
With the back half of the finder loose, remove it.
To give you more room to work with, you can tilt the other half forward a bit. Unclip the tabs, yellow arrows.
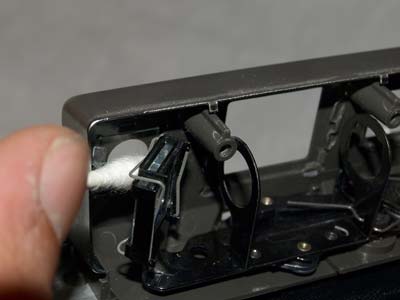
You will notice the odd configuration of the finder. The 2 mirrors work the focusing aid, and the center cube is the parallax frame.
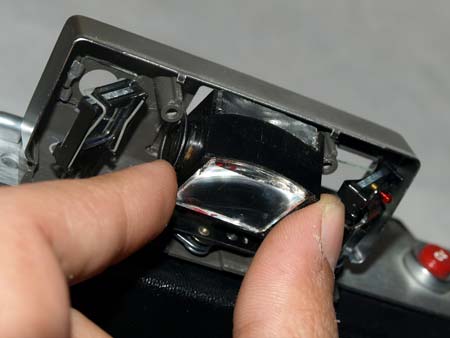
Remove the cube and notice how it was held in place not only by the 2 metal clips but a tension spring. This spring keeps the cube pressed against the arm which moves when focusing on your subject, adjusting for parallax.
Clean all the surfaces until the dust and grime is gone and you are left with sparkling clear mirrors and glass. Don't forget the surfaces found on the other half of the finder you removed.
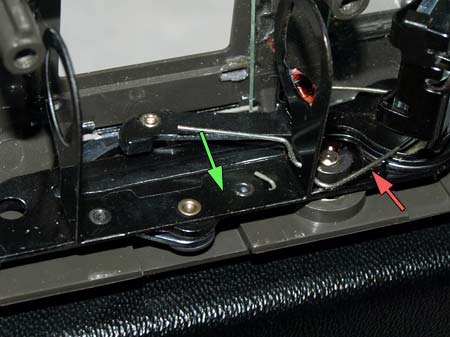
Replace the cube and remember to put the spring back into the tiny notch along the bottom. Press the spring with your finger and manipulate it into place.
Close up the finder.