The Steps
basics of function
how does the camera usually operate; what parts do what and go where
the finder
removal, opening, cleaning
the back
assess, clean
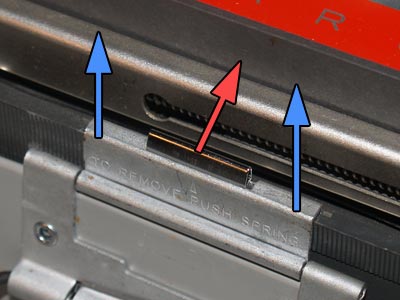
shutter assembly
remove, open, adjust, clean
batteries
modify to accept 3v photo lithiums
completed
super sweet!
Basics of Function
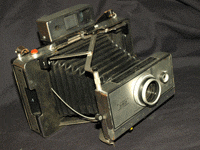
The Model 350 was one of the top-of-the-line pack film cameras. Its the replacement for the 250 which had the first Zeiss-Ikon finder.
The body is mostly metal, has a tripod socket and is built to last. The 350 was one of the first to have a built-in electronic development timer, found on the back.
While there are many pack film models, there are few differences when it comes to cleaning and modifying the batteries.
The Zeiss-Ikon finder compliments the black and metal body as well as gives the best focusing/parallax aid out of any finder found on pack film models. If you have a model which also has a Zeiss finder, most of the information for the 350 will also work for you.
Because this model has the development timer, it requires 2 batteries. You do not necessarily need to keep the timer functioning, and can simply use a single battery. The original 3v batteries were alkaline and also hard to come by today. Newer, easier to find and cheaper 3v photo lithiums are a better choice.
If you have a model which requires 2x3v batteries, these pages will work just fine for you.
The first thing to get the camera open is to open the front clamshell. And to work on the camera, simply remove it by the clasp found inside.
To extend the bellows, pull up on the arrow marked 1. If it doesn't extend, pull it until it locks.
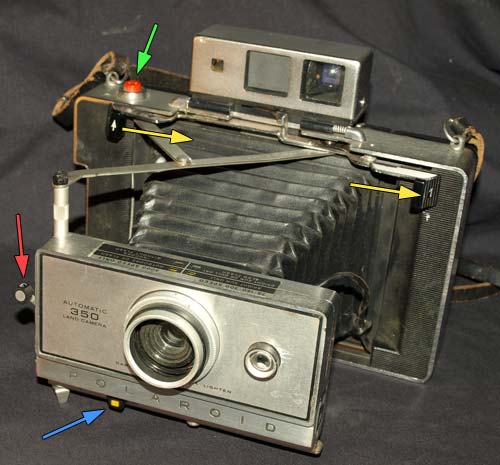
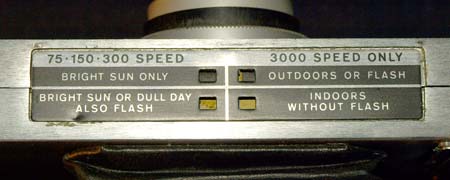
This camera has a dial under the lens with settings for film speeds of 75, 150, 300, and 3000. The dial on the front of the lens gives you +/- 2 stops in exposure control.
To focus the camera, you move the two knobs, yellow arrows, which moves the lensboard back and forth.
The 350 has the better shutter exposure controls, which gives you a scene selector switch, blue arrow. On top of the shutter housing you will see 4 squares. Two at a time are highlited as the selected scene. Choosing the appropriate one will allow you photos to come out just a bit more controlled.
Cock the shutter with the arm, red arrow, and press the shutter button, green arrow, to take a picture.