The Steps
parts & labor
what's needed to get the job done
basics of function
how does the camera usually operate; what parts do what and go where
bellows & lensboard
removal, gutting & measuring
fitting the lens
cutting, sizing, sealing
the timer
rewire for 3v lithium
does it focus?
test focusing
completed
in all its glory
Bellows & Lensboard

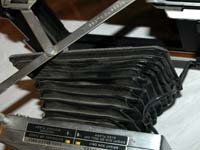
A big problem that plagues many of these types of Polaroids is the dreaded busted bellows.
This particular camera had a bulge or two from bad bellows. They must be replaced.
If your bellows are ruined in any way, you MUST replace them. If you can find another automatic Polaroid like yours, awesome. Preferably take one from a cheaper one than the 450, one that is worth losing. Check the lens plate to make sure your 4 screws will line up with your new bellows.
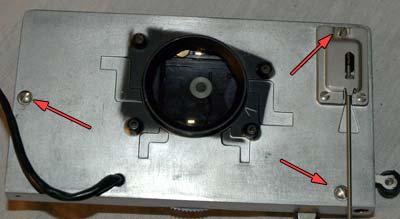
Remove these 4 screws now and save them for later.
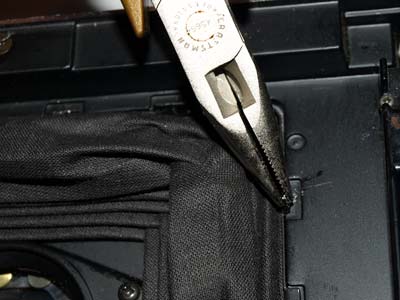
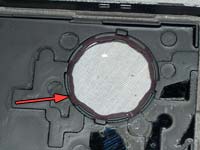
You will notice how the bellows are held. A bunch of tiny metal tabs. Bend every one straight up and pull the bellows out of the camera. It is stuck with a little old glue to the lensboard, just pull and it should come right off.
Cut both the shutter cable and the power cable. Neither are of any use anymore. Toss the broken bellows, there is no saving them.
With the bellows out of the way, it is much easier to remove the lensboard from the supporting rails.
The board is attached at 3 points held by the metal arms. The top and the bottom are connected by a single metal rod going through the lensboard. The last connection is to a spring within a slide slot.
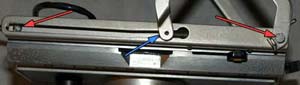
The spring arm sits within a slide held to the lensboard with a screw and by a small bolt, red arrows.
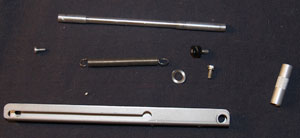
Removing the bolt will cause a metal rod and washer to fall out.
The top and bottom are connected by this metal rod, unscrewing one or the other will cause both to fall out. Now slack, you can unhook the spring too. Save these parts and remember the order in where they go.
Now the entire lensboard and shutter assembly is free and can be worked on.
Start with removing the 3 screws that hold the 2 halves of the shutter together. The shutter cable has 3 screws, only one needs to be removed. But remove all three anyway.
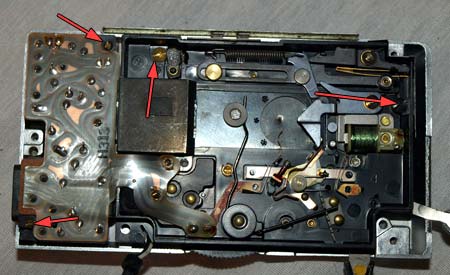
Inside you will find the circuits we're ditching.
2 small screws and 2 large screws hold it all to the housing.
Toss the circuits.
Unless you plan on keeping the original faceplate, peel it off as a stencil for later.
Remove parts by simply yanking and twisting all the parts you see in the front.
The lens and electric eye pieces can be unscrewed.
On the other half of the housing, pop out the rear lens element by removing the small clip holding it.
The lensboard is now ready to accept a new shutter, but it must be made to fit.