The Steps
parts & labor
what's needed to get the job done
basics of function
how does the camera usually operate; what parts do what and go where
bellows & lensboard
removal, gutting & measuring
fitting the lens
cutting, sizing, sealing
the timer
rewire for 3v lithium
does it focus?
test focusing
completed
in all its glory
Does it Focus?
Because I am now using the film part of this camera, it is best to make sure the compartment is good. In this case, the foam seals were crumbling and needed replacement.

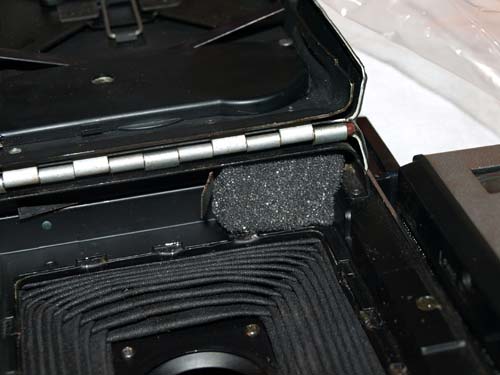
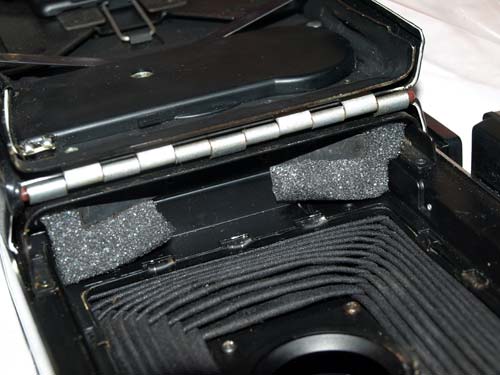
Low density foam from a hardware store is all it takes. Bend up the metal tabs, insert foam, bend down metal. The film pack will now be well seated.
After doing this type of conversion before, I learned that using a 127mm lens requires little if any tweaking to fix the infinity focus point of the camera. It seems the lens is placed about 13mm away from the original 114mm lens, perfect.
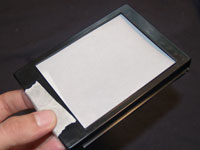
To test this perfection you'll need some ground glass. Ground glass makes a bright image you can see in almost direct sunlight. If you don't have any, a piece of tracing paper will work fine, you'll just need a hood to see the dimmer image.
Attach the camera to a tripod and set it up to focus on something at least 50-75ft away.
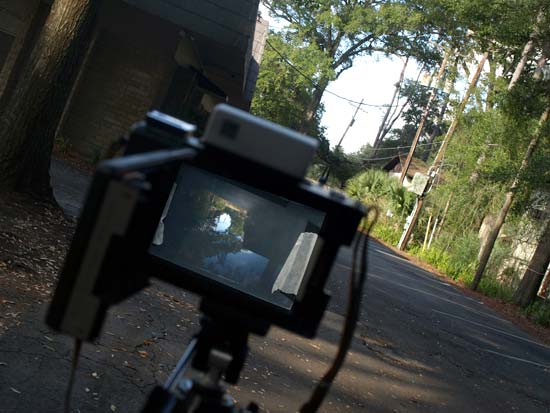
Use the T setting of the shutter to keep it open while you work, set the fstop to the largest opening.
Use the finder to make sure what you are focusing on is infinity and far enough away.
Compare what you see in the finder to the ground glass. In this case, as expected, the camera is spot on.
If yours is not on, see which direction the lens needs to move, forward or back. Compensate with shims on the front of the board, or grinding out some to allow the lens to sit further back.
Worst case scenario is that somewhere in the middle, focus will be slightly off. However, setting the lens to at least f11, will solve that problem.