The Steps
parts & labor
what's needed to get the job done
the back
trim the opening
the body
gut the insides
lens assemblies
remove and retrofit
set infinity
focus correct
fix the leaks
seal the lens
center the lens
get a full frame
completed
photos and tips
Lens Assemblies
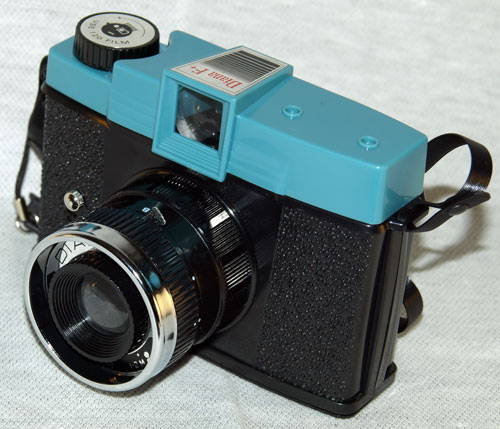
The Diana camera costs even less than a Holga. Which is good because the lens is all we are after.
The shutter, including the apertures, are not part of this project. Just the plastic lens.
The 75mm Diana covers more than the 60mm Holga.
Might just be a small aspherical piece of plastic, but it will get the job done.
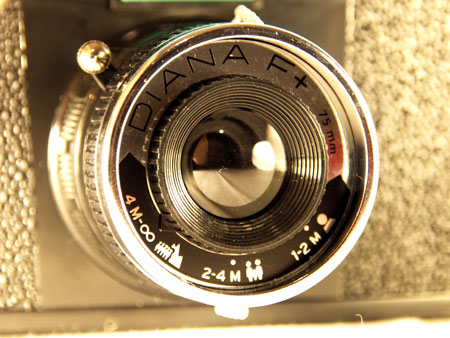
Turning the little black ring around the lens changes focal distance.
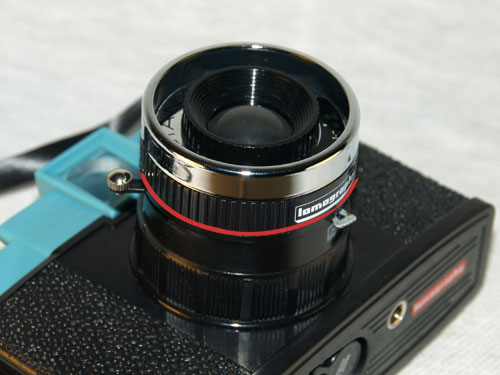
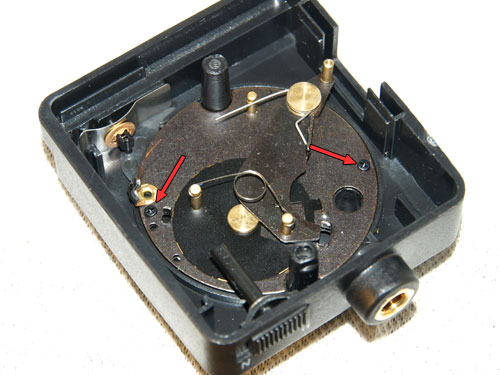
To remove the lens assembly from the Diana simply pry along the red line.
Do not try to keep the shutter or aperture mechanisms they will cause vignetting.
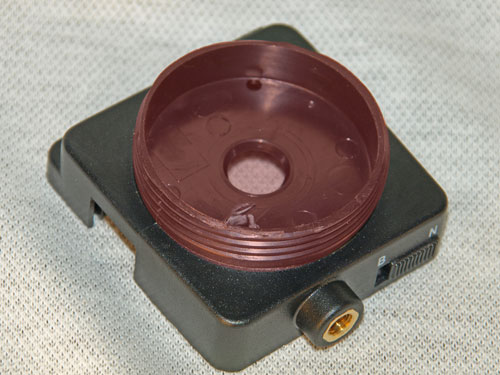
Pull it off and toss the camera aside.
Grab the Holga lens and shutter assembly you put aside.
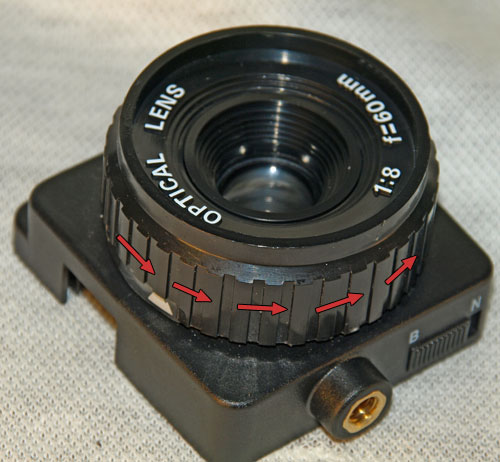
The Holga lens turns to change focal distance. Turn it harder and further than you think it can, and it will come off completely.
Trust me, it won't break. And if it does, who cares.
Remove the shutter mechanism, but only after you marvel at its springy simplicity.
Remove the "bulb" setting switch, and the trigger. Set them aside. You'll need them later to light seal it.
Now what you need to do is make it so the Diana lens can be mounted to this Holga assembly. Remove the screw mount plastic and open up the already obvious circle within.
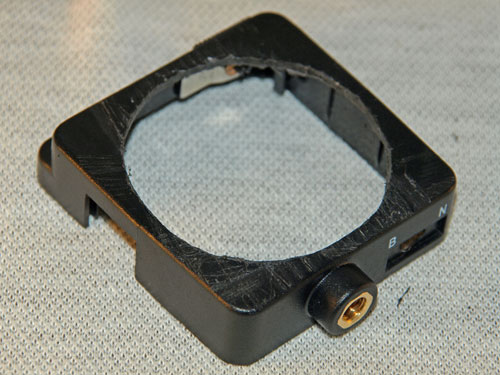
As you remove the plastic and enlarge the opening, constantly check the fit with the Diana. The fit should be loose enough to allow the lens to move back and forth but not fall out of the assembly.
With the Diana lens in the Holga assembly, its time to place the lens at the proper focal length so that infinity focus is true.