The Steps
parts & labor
what's needed to get the job done
the back
trim the opening
the body
gut the insides
lens assemblies
remove and retrofit
set infinity
focus correct
fix the leaks
seal the lens
center the lens
get a full frame
completed
photos and tips
Completed
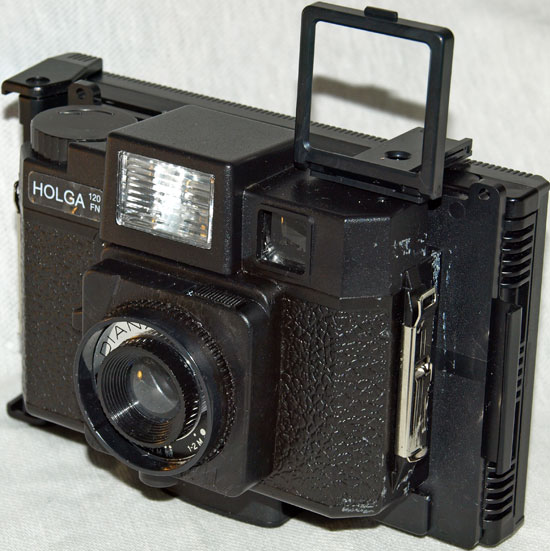
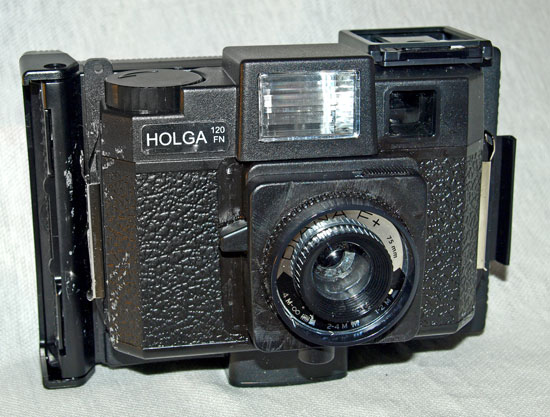
So, you've taken a Holga and made it a husk. Taken a Diana and crippled it blind. All for the glory of a truly full frame Holgaroid!
Your tradeoff for this feature is the loss of a mechanical shutter of any kind. While I am sure someone could design some hack together with this project to create one, the darkslide and a lenscap will work just fine.
Keep the darkslide in the camera at all times! Only when you are about to take a photo should you remove it. This will save your film from any accidental exposure.
Using a lenscap over the Diana in combination with the darkslide should give you reasonable control over exposure times. Eventually you will be able to just "know" the proper exposure for certain situations.
Since the camera is now permanently a full frame holga-diana-roid monster, it may be best to permanently attach the packfilm back to the camera and stop any chance for more light leaks.
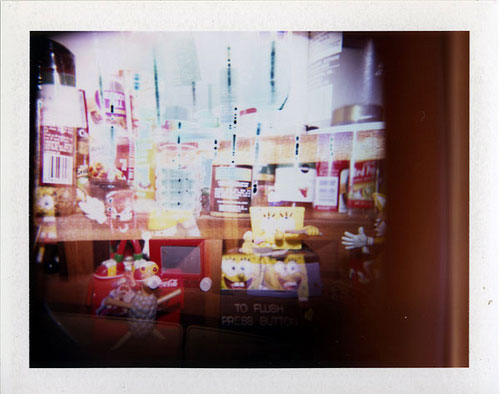
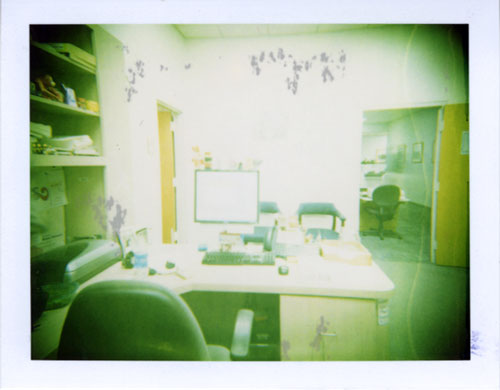
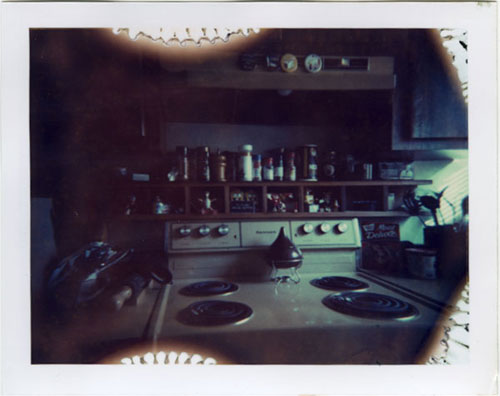
The before and after shots speak for themselves. Retains the signature Holga vignetting, but without cutting anything off.
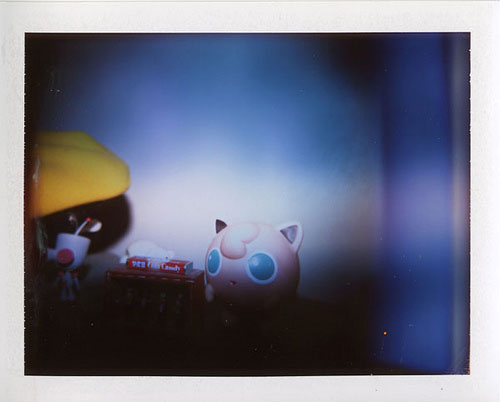
From a few tests its obvious that outdoors in sunlight you have to be very fast uncover/covering the lens to make your exposure. Even with f11, you may find that adding a smaller hole to a lenscap will give you more time to work with, but after a certain size, you'll get some nasty vignetting.
An ND filter (46mm if you can find it, but better to use a step-up to 49mm) can also be used to cut down the light so you can better manage your exposures.
In any case, this camera is strictly for tripod shots unless you like the blur. Using a flash indoors should only be done in very low light so that the flash doesn't overexpose.