The Steps
parts & labor
what's needed to get the job done
basics of function
how does the camera usually operate; what parts do what and go where
the back, the strap, the flash
taking off useless vintage roll-film parts
the rangefinder
removing, taking apart and cleaning
cutter-bar & inner parts
more useless vintage parts that have to go
ready the donor
removal of all nonessential parts from a packfilm donor
hack to pieces
make the back fit
odds n' ends
tidying up; side door
putting it all together
replace rangefinder, fix flash; paint
reset infinity
setting the focus stop
Basics of Function
To get familiar with this beast, I've looked it over many times. You should too. The more familiar you are with the camera, the less chances of things going horribly wrong.
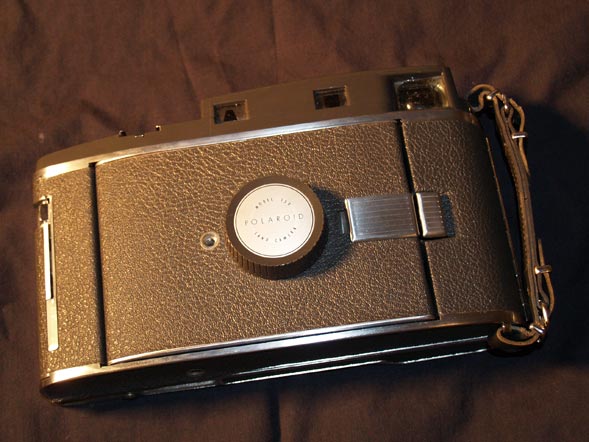
From the front you can see the focus knob, don't turn it while the camera is closed. The rangefinder has 3 windows, I don't worry about which does what. All I know, is they are pretty dirty. Most likely anything decades old, is going to have at least some dust, if not "other" kinds of stuff as well.
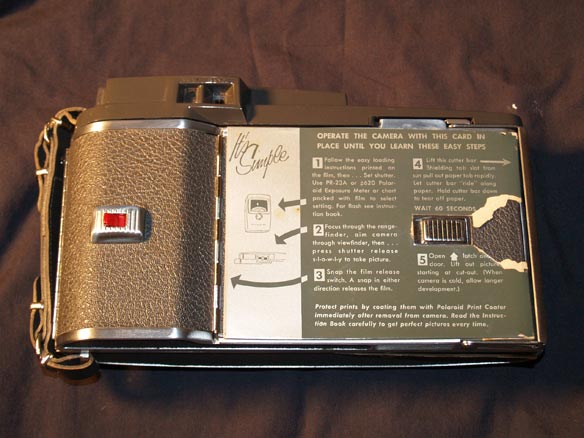
Looking at the back, you can see the rangefinder has only 2 windows here. One is the viewfinder, where you compose the pic, the other is the rangefinder where you focus your scene. Its not actually that distracting to use, if anything it makes you more aware of your scene as you have to pause while you focus and then compose. The Model 110B and 900 have coupled view/rangefinders, with only one window for both tasks. The red switch is strictly for the defunct roll-film, makes a cool clicking noise though. The silver tab holds the back port closed, many people taped the procedures for using the camera here.
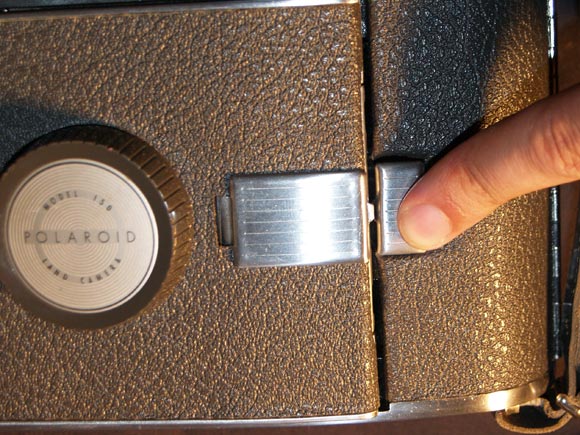
To open the camera from the front, press the little button. A spring and pin will pop the focus rails out enough for you to now unfold it. As you unfold it, you will hear and feel an obvious click as the front locks into place. It will NOT move again, these cameras are built like tanks and this is an obvious place to take notice. There is no way you can, after it locks, close the front without knowing the way to close it. I think this is a good thing, as you can use the front to attach a tripod, notice the thread-hole, and any movement would be quite unwelcome.
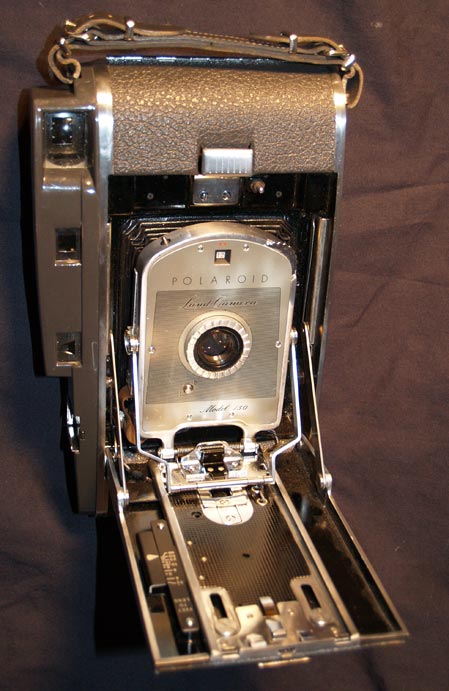
With the front now fully opened, you can see the shutter and lens, this is what takes your photos, so make sure not to get it dirty or scratched.
Now to see the bellows in action. There is a black metal tab at the bottom of the lens strut. Pinch it to unlock, and pull it forward as far as it will go. It should click when it reaches the end and not move back or forward anymore. If you grasp the focus knob and give it a turn, you will notice the camera moving back and forth. Also, notice the distance scale on the side of the rails. Later, we will need to "reset" the location of the infinity stop, the place where the black tab locks. Always set the focus to infinity when closing the camera.
Look now for any holes, light-leaks, within the bellows. You don't want to replace the bellows, I can only imagine that being quite a pain. But, then again, maybe this whole project can be seen that way.
Well, in any case, take care to inspect that everything works well. You don't want to spend many moons working only to find out your bellows have holes, the lens board doesn't lock, etc.
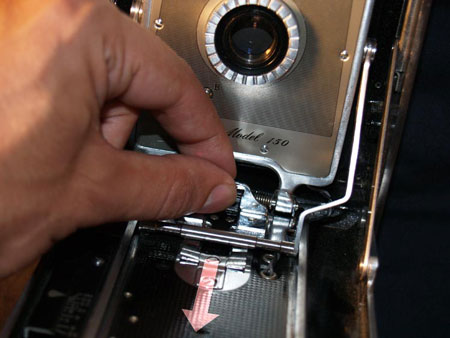
Now, to close the front, might not be as simple as you would think at first glance. Try as you might, it just won't fold back. If you look inside the camera, you'll notice 2 hinged struts that hold the front down. These ride inside a track within the camera body. In the open position they have locked up into the tracks and need to be pushed back down before you can close.
Push down on the struts with 2 fingers, while folding the camera back up. Personally, I put both thumbs on the underside of the front, and use my index fingers to press the struts, the thumbs fold it closed all in one smooth motion. Everyone has their own way of closing the camera, find which best works for you.