The Steps
parts & labor
what's needed to get the job done
basics of function
how does the camera usually operate; what parts do what and go where
the back, the strap, the flash
taking off useless vintage roll-film parts
the rangefinder
removing, taking apart and cleaning
cutter-bar & inner parts
more useless vintage parts that have to go
ready the donor
removal of all nonessential parts from a packfilm donor
hack to pieces
make the back fit
odds n' ends
tidying up; side door
putting it all together
replace rangefinder, fix flash; paint
reset infinity
setting the focus stop
Odds n Ends
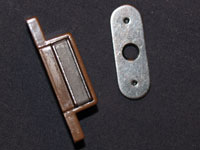
If you'd like the front of the camera to "spring" open, there needs to be something for the spring to press against. Originally, the roll-film spool thing covered the area. The original screws that held that metal piece down will now come in handy.
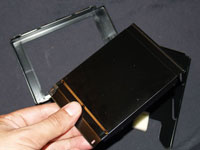
I would have reused the original metal piece, trimmed and drilled to fit, but without proper tools it was impossible. I chose a piece of an empty packfilm as an easy and readily available alternative. It can be cut with scissors and drilled with a screwdriver tip.
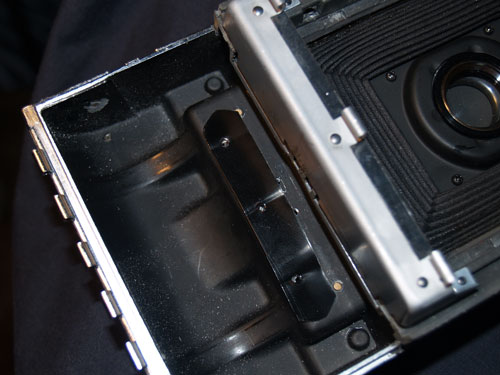
Place the pin, with the short nub facing up, and then the spring into the hole. Use the original, or appropriated, screws to hold down the metal. Make sure the spring is fully flush; opening the front of the camera, allowing the pin to fall, makes this easier.
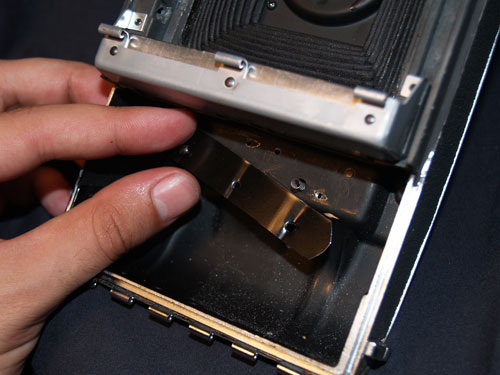
If you used the original screws, they are too long now. If you look from the front of the camera they are protruding. Grind them off, or find shorter screws of the same thread diameter. I found that the screws that held the bellows to the Automatic Packfilm camera work perfectly...
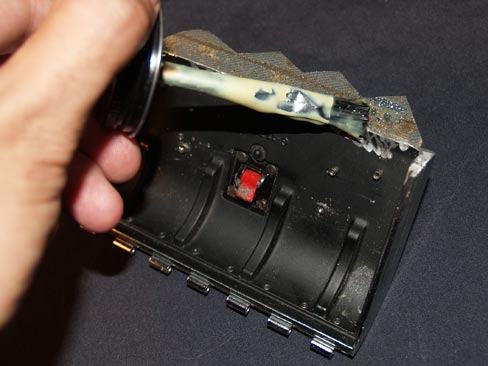
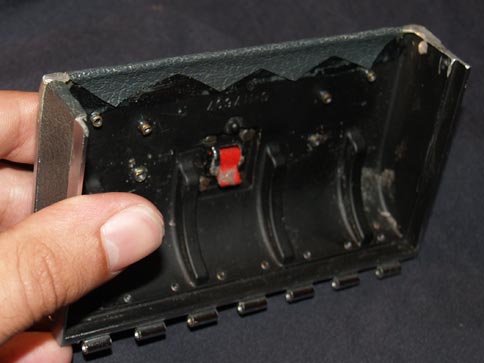
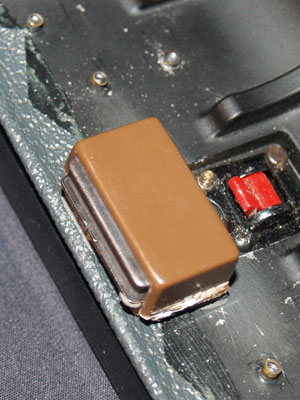
The left side of the camera is severely lacking. To make it look a little cleaner, the original rollfilm back door will need to be cut. But first remove the inside parts to keep the weight down. If you would like the red button to still "click" and keep 2 positions, skip this step or figure out your own idea.
It can be as much work as drilling out all 6 rivets. Or, as simple as using some pliers to pry the whole mess. Either way, the weight drop is noticeable.
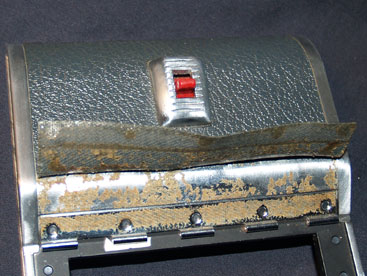
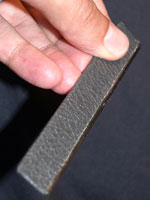
Peel back the leather on the front and bottom a bit before you cut. It can be used to cover the rough edge that comes next.
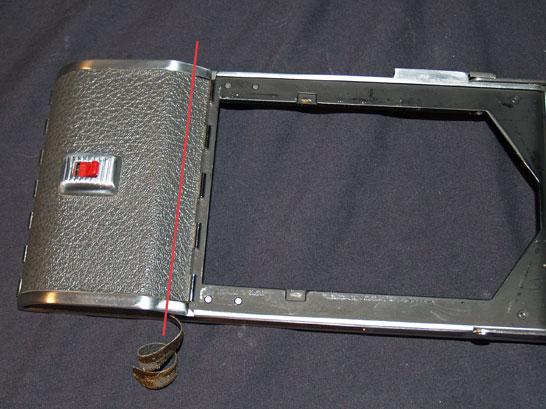
Every type of back, whether OEM or hacked, is going to be slightly different. And thus, the cut line will be different.
Measure twice, cut once. Always cut less than you need, and grind/cut it until you have it fitted perfectly.
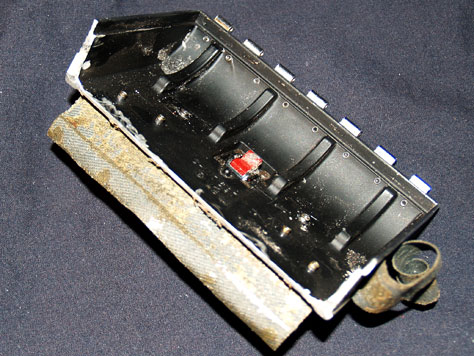
This door is a personal preference for this project. I've seen people who just leave it off entirely. You can take alot more time to make the packfilm back and door seamless. I chose a happy medium of enough work to get it to look decent, but not so much as to make the process overly complicated.
For example, this hacked packfilm back only has 1/2 of its hinge loops without the addition of the original battery compartment. You could easily graft those hinge loops to this vestigial back in a way to look more seamless. Another example, remove the entire red switch and raised piece, and then use leftover leather and some Bondo. Its up to you how much you want to do.
The ugliest part of this camera is, of course, the part where it got chopped. You could leave it as is. Bad. Spruce it up a bit. Good.
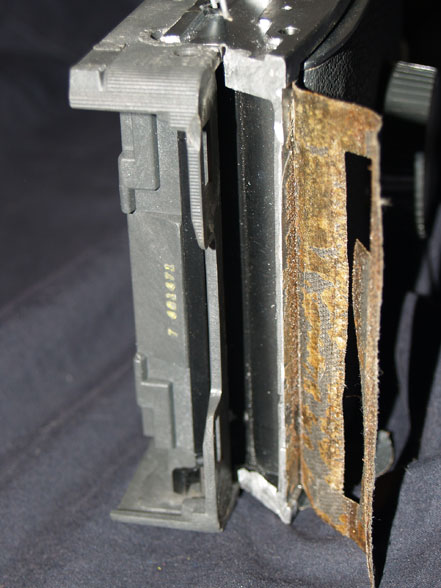
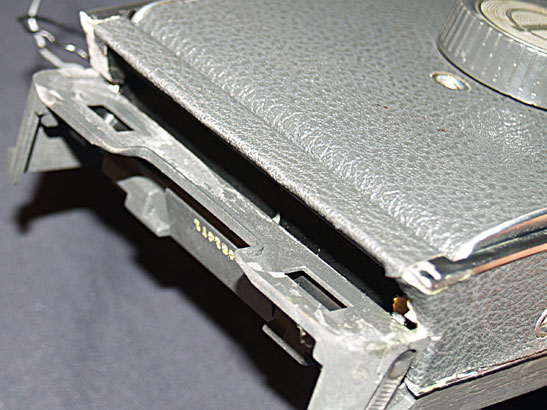
In my haste to remove the packfilm back, I also removed the nice covering of plastic at the edge which you can see here. If done right, that won't happen, but in this case, Ill fix it later. For now, I will cover the metal edges and gap.
The best part to salvage for a cover is the back door of the rollfilm camera. Obviously, you don't need the whole thing, just a piece. Take some measurements of the spot to cover and notice that you need two thirds of the width and about a third of the height. No reason to be exact just yet.
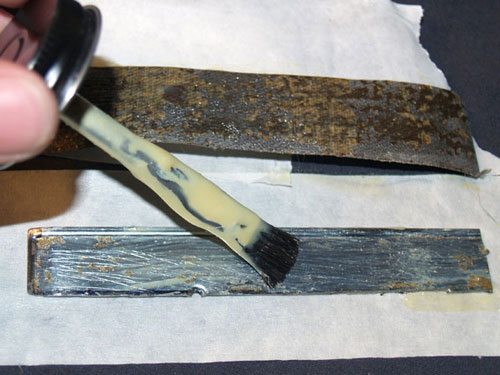
To keep the leather clean, peel it back on a larger area than you will need. Using the measurements, mark the metal area to be cut. giving some room for error which can be grinded down later.
If I had a vice, and some big ol shears, this might be easier, but the Dremel cut through it just fine. Test fit the piece and grind or file as needed until its flush with all 3 exposed edges. If you have a rough edge, face it inwards where it can't be seen.
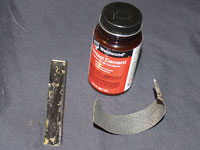
To attach the leather to the metal, I used contact cement. This stuff is stinky, almost like rubber cement from my childhood, but nastier. I hear you can try industrial strength double-sided tape, if you can find it.
Use it only with good ventilation. Seriously, it stinks.
Follow the instructions of the particular cement you use.
The one I'm using requires a full coat on both objects and a wait period of 15-60 minutes before pressing them together.
While this is setting up, it is a good time to trim and glue the leather that remains on the camera body and the side door.
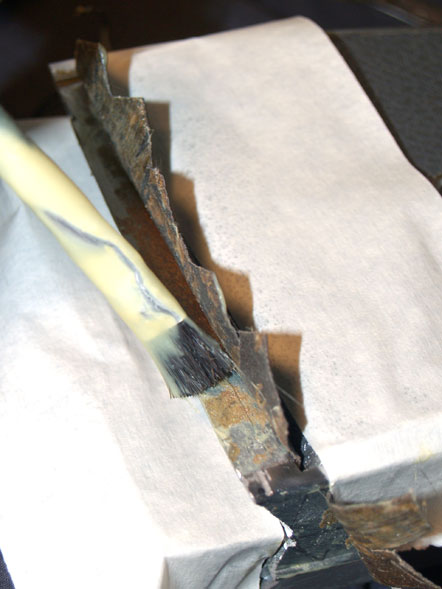
To keep things clean, mask off areas where a drip would be bad. Trimming the edge with a pinking-shear design makes pressing it together easier.
Don't forget to trim the bottom leather piece so that it fits under the packfilm back and over the rough edge.
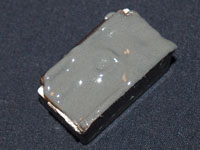
Once pressed together, even lightly, it is really difficult to remove. Find an edge to follow and use it to keep everything flush. The rough edges should now be covered.
While the contact cement could hold leather to metal, JB Weld will hold the piece to the camera.
Mix up some JB Weld. I used a plastic knife to spread it this time. Nothing too thick, as anything that squeezes out the front would be quite ugly.
Test fit the piece you've made. Hopefully everything is straight.
Mine, was straight enough for me.
Apply the weld. Press into place. To keep things pressed tightly, I suggest using strong tape and a wedge of cloth to apply pressure.
While we've got a bit of JB Weld out, its time to tackle the side door. How to keep it closed?
If you want your side door to not flop open all the time we need a way to keep it closed, but still open at will. Originally I used a spring, attached to a red switch screw on the side door and to a screw on the spring/post plate. This worked, but after awhile the spring lost its tension. Not to mention that getting it on there took alot of work and frustration, and could be really dangerous!
So an easy solution is that voodoo force, magnetism!
Cabinet, drawer, door, window magnets.
Maybe you have one lying around or maybe you can pick one up for $.78 at your local hardware store like this one.
Fortunately for this particular project the packfilm back where the side door meets, is made of metal. In the possible case that your back is plastic, you could attach the metal plate that came with the magnet to an appropriate spot.
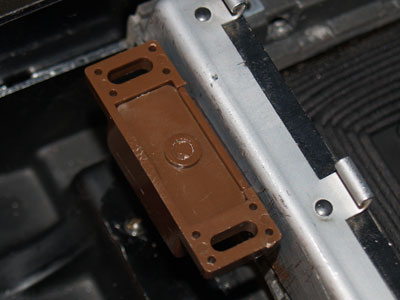
If you attach the side door to the camera, and line up the magnet you will see it needs to be a few mm away from the flush edge.
If you have the door still attached to the camera, remove it, this will be easier.
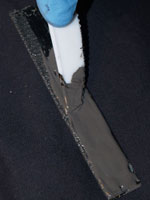
So while you still have the JB Weld out, maybe even some leftover from attaching the front piece, coat the magnet on one side.
Placing the door onto something that will allow the area to be glued not to be tilted, as the door is rounded, will keep the JB Weld from oozing and moving.
Let sit for at least a few hours. When it seems a little more solid, test the door. Make any adjustments now before the JB Weld is so hard you can't do anything.
Now you have a sweet closing door!