The Steps
parts & labor
what's needed to get the job done
basics of function
how does the camera usually operate; what parts do what and go where
the back, the strap, the flash
taking off useless vintage roll-film parts
the rangefinder
removing, taking apart and cleaning
cutter-bar & inner parts
more useless vintage parts that have to go
ready the donor
removal of all nonessential parts from a packfilm donor
hack to pieces
make the back fit
odds n' ends
tidying up; side door
putting it all together
replace rangefinder, fix flash; paint
reset infinity
setting the focus stop
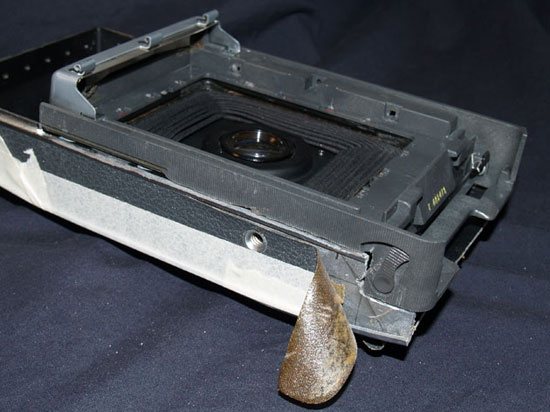
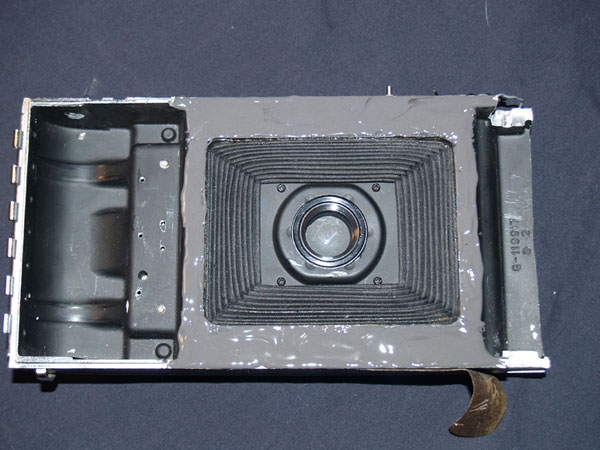
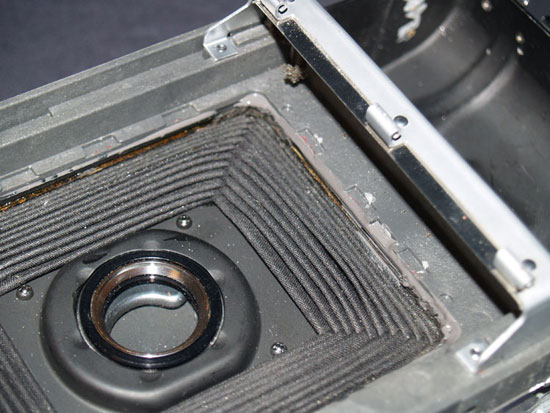
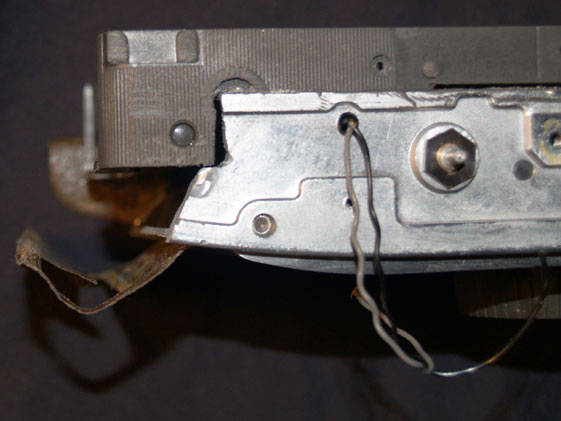
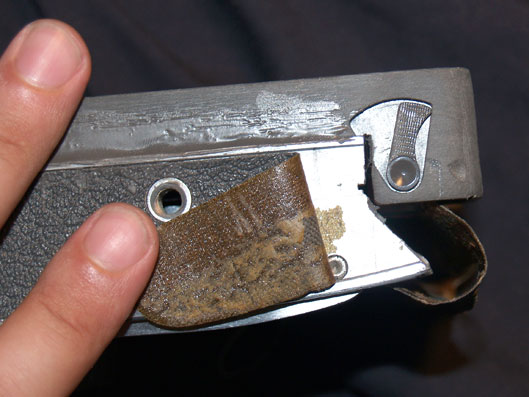
Hack to Pieces
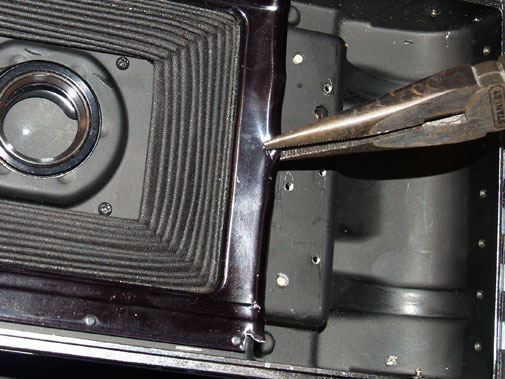
The shiny black metal piece that goes around the opening prevents the back from sitting flush against the camera's film plane. It seems to be made of a very sharp but weak metal that can be easily pried with a screwdriver and pliers. Be really careful of sharp edges.
NOTE: do not do this...I did it this one time and was lucky my bellows didn't fall off. This metal plate, with its tabs inside the bellows, hold it to the camera.
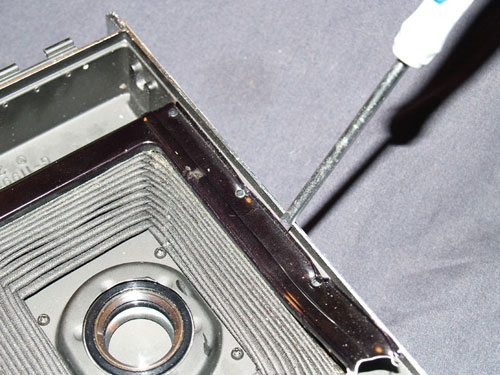
Pulling from one side and then prying it along the top and bottom edges works best.
Do not try to do anything with the rivets. They will be ground down later.
NOTE: ignore this step and instead just remove the little "ridges" of the frame instead of the entire thing itself.
Since the rest of the process, until much later, creates alot of dust and debris, now is a good time to cover the lens and bellows. Cardboard and some tape is all you need. If you are paranoid, you can also tape up any other spots you think may get debris inside.

Now begins the cutting.
On my first attempt to cut the camera, I used a Dremel tool exclusively. Not only was this loud, dirty and overkill, it performed no better than a normal hacksaw. While using both is best, you only need a hacksaw to accomplish the task of removing the right side of the camera to fit the new packfilm back.
Peel back the leather along the bottom of the camera so it doesn't get cut.
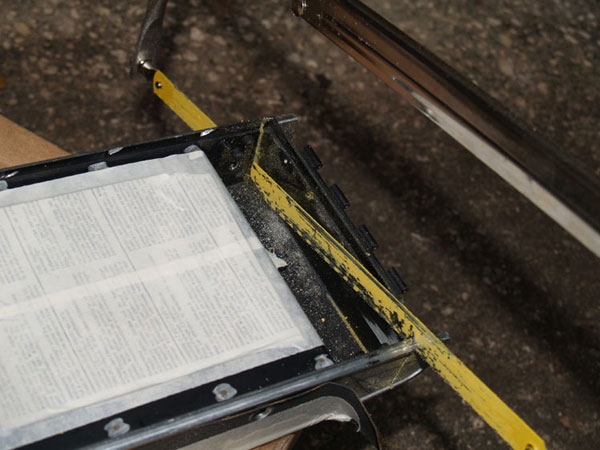
Measure twice and cut once.
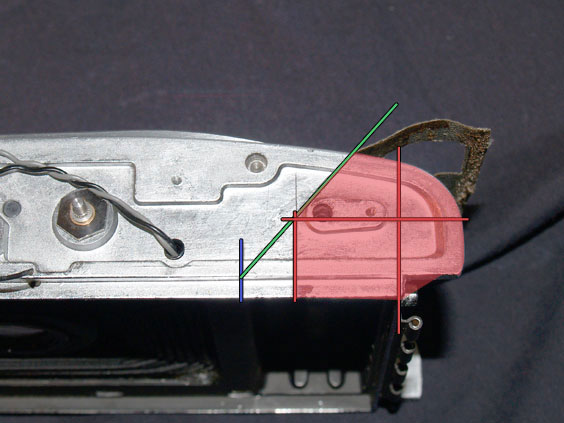
Typically people choose to simply do a miter cut, green line, which works for all types of back, whether hacked or OEM.
In this project I chose to make the camera fit the back, so I took care to mark how the back should fit. Which became a combination of the miter cut and my red measurements; red shaded area.
Its a personal preference. A miter cut is easier, but I want a cleaner more original look, so I cut only where I needed.
Since I did all my cutting outside, and alone, I didn't take anymore photos of the progress. This will give you an idea of the cutting involved.
With the cut(s) now made, place the back onto the camera. It still doesn't sit flush because of the metal lips that go along the top and bottom of the camera.
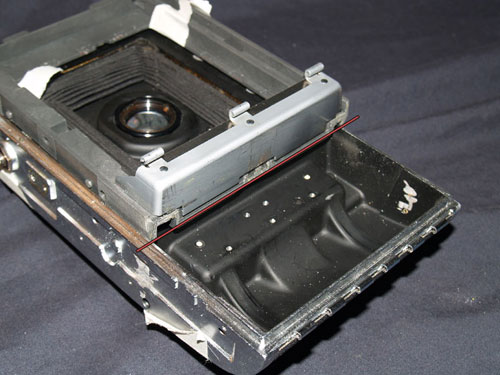
With the back in the proper position, mark where on the lip you need to cut to. Now, using a Dremel cut-off wheel, cut the lips off up to your marks.
TAKE NOTE: it was only after I had glued the back to the camera that I realized an L-shaped cut was not sufficient. So a few photos may have the L cut, but for this back, I found it best to do a combination of L and miter; red shaded area. TRUST ME, cut it right before you glue it! Cutting with the back already glued on, was not fun.
The camera should now look something like this.
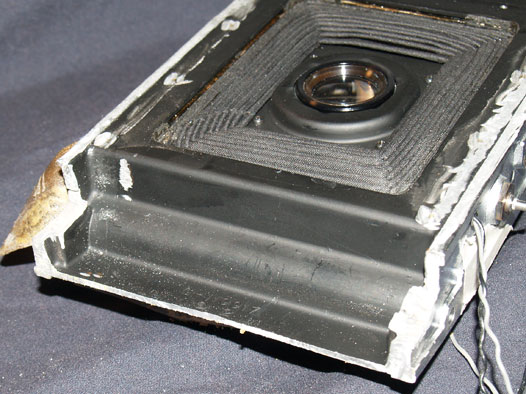
Now, take the time to grind down the film plane so that everything is flush and smooth.
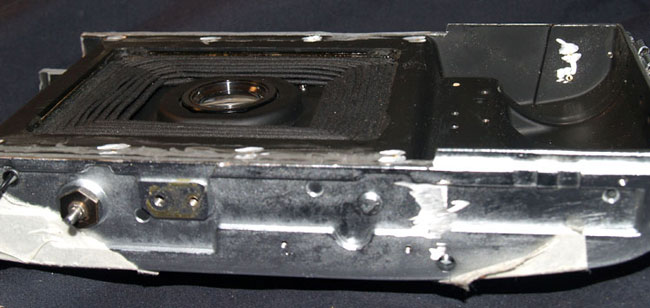
Fit the back to the camera. Make any adjustments that are needed to have the back be completely flush with the film plane. If you measured twice, and only cut once, it should fit quite well.
To attach the back to the camera requires some sort of glue, or even rivets if you were so inclined. Something that will attach metal and plastic. Something that won't dry to slow or too fast.
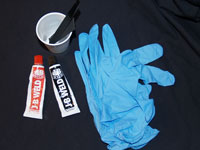
JB Weld is a 2-part epoxy that dries as hard as steel. To mix and apply I used a plastic cup and strip of plastic from an old Polaroid film pack. While JB-Weld is non-toxic, it still isn't good for your skin, so wearing gloves is a good idea.
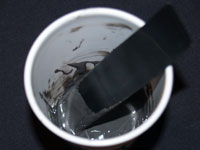
JB Weld needs to be mixed in equal parts. Which can be eyeballed no problem. One being white, the other black, makes a grey mixture. When you can't see either color its thoroughly mixed.
Apply with something flat preferably. Spread it out so it is somewhat even all the way around. If any drips where it shouldn't, clean it up before it dries, don't worry you've got at least a couple of hours work time.
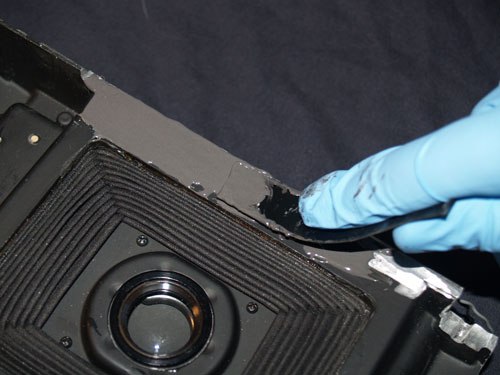
I encountered a slight problem after I glued the back. I didn't like the L-shaped cut I had made to the camera. I noticed that the miter cut would have been a much better choice. So, I was forced to cut the remaining piece with the back attached, requiring me to mask off alot more areas to keep them clean. Now its a combination of the L and miter. Which worked for this back.
Press the back into place. Hopefully the glue isn't too thick and any squeeze-out will be minimal. JB Weld won't dry for hours, and won't be held fast for a good 24hrs to be safe. So, you can wiggle it around and get the film frame centered and correct.
Wait at least a day before even touching the camera again! It should be quite steadfast within a half a day, but now is not the time to take chances.
If you measured right, glued well, and kept everything clean, it should look like this on the top and bottom. Don't worry what the top looks like, it will be covered by the rangefinder. If the bottom has a huge gap or some other problem, I can only recommend some Bondo, or other body filler to fill the gaps. The left over leather will cover any rough edges.