With this CB-103 back being so nice, I wanted to keep it that way. So, instead of glue I am using the original mounting screws. Plus a little help from some double sided foam tape just to seal it.

remove the rollers; double-sided tape
Remove the rollers to reduce the weight as you have to keep the door from opening all the way while attaching the back.
Poke the 8 holes through the tape.
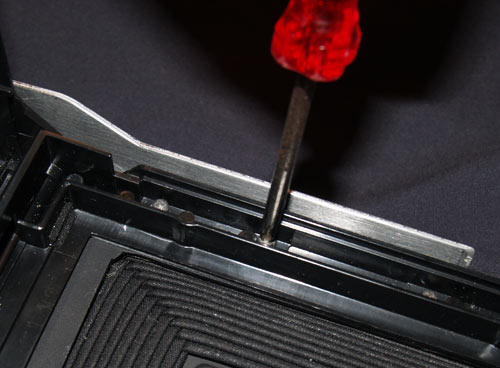
use some torque
Insert a single screw, line it up over its hole and use some torque.
The soft metal should allow you to screw in tightly, basically creating its own thread. Just don’t be too aggressive.
Enlarge your holes if need be, but be careful not to go too large.
If you do not have a power drill to apply enough torque to seal the camera, you will have light leaks. Don’t use the tape, and use JB Weld instead.
Before replacing the focusing parts to the front door, we need to rewire the flash.
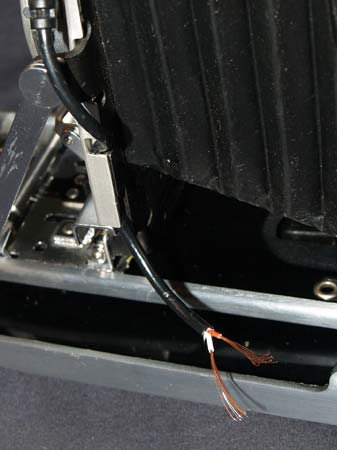
The hotshoe I am using has 2 wires inside a black wrapping.
Unlike the original very thin flash wires, this is too thick to work comfortably with. Thin wires easily pass under the focus bed and facilitate movement of the lensboard a lot better.
thread PC end
First, take the already cut PC cord end, thread it behind the lensboard.
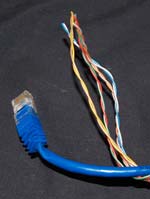
A great wire source for thin and flexible wires is from CAT-5/6 cable, also known as your typical ethernet/telephone/data cable.
Cheap, ubiquitous and chock full of wire! Cut a length at least 12″, you can cut it shorter later.
They already come in twisted pairs!
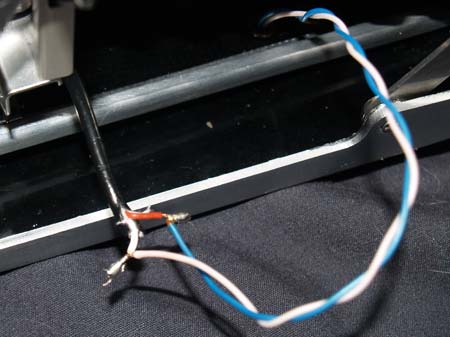
solder ends together
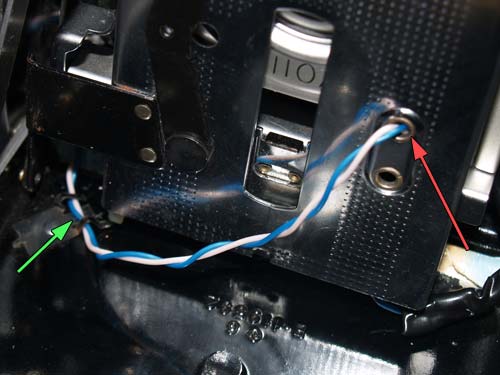
thread through hole, under clip, out top of camera
Solder the wires together. Wrap them in electrical tape to prevent shorts.
Insert the wires through a hole in focus bed, red arrow, underneath the clip, green arrow, and out the original flash wire hole.
You’ll probably need to fold the bed out of the way.