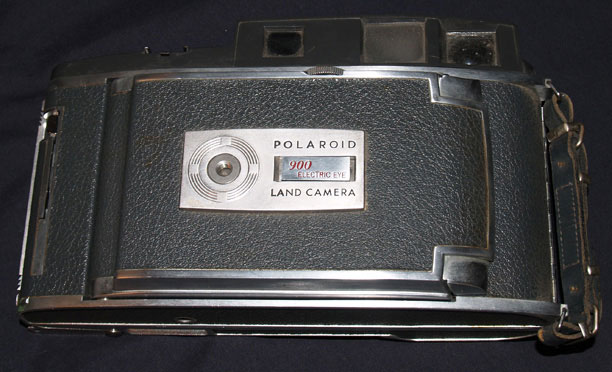
the front of the 900
The 110B’s coupled finder makes it a much sought after piece of equipment. Polaroid also put the same finder onto the 900, and it can be swapped to a 110A with a little bit of work.
The Model 900 was a pretty good Land camera, like a bazillion years ago. It was one of Polaroid’s last attempts at keeping the 40-rollfilm going. It used a battery to power the “electric-eye” which did all the auto-exposure stuff for you. It could also be set to “manual” when the battery died.
I am not going to go into the use of this camera. The battery in this one was dead, and the shutter seemed to be stuck. I really didn’t care enough to even attempt to salvage any parts but the rangefinder. Some people have used this model as the base of the conversion instead of the 110A. Reversing the roles of my conversion by taking parts from the 110A and putting them on the 900.
Personally, I like the front much better than on the other models. It seems more solid, not to mention that a tripod an be attached without the focusing knob getting in the way.
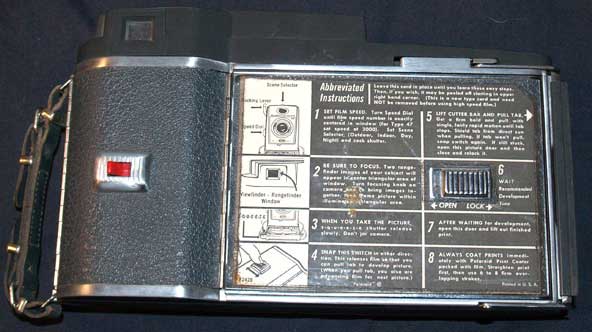
the back of the 900
The back remained almost exactly the same as all other models. Notice, though, the single window for the rangefinder.
Makes focusing and composing a single effort.

opening the front
I found it really weird that they have these two buttons you need to squeeze when only one is connected in any way to the closing latch.
But this is much cooler than the spring loaded button on the other models.
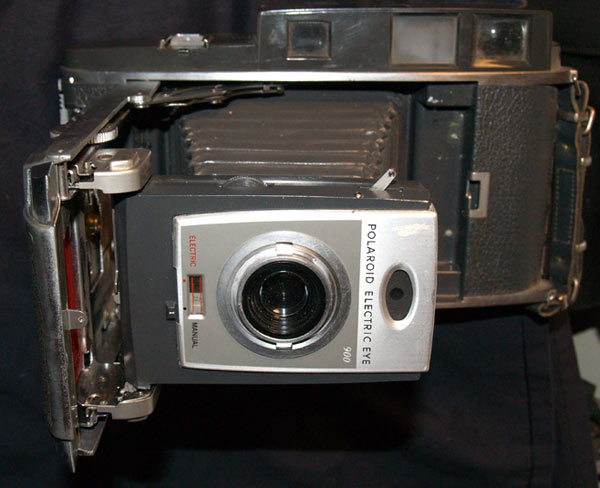
the front extended
Not only is the front locking mechanism different, but the entire focusing arrangement along with the hinges are different.
The hinges self-lock when fully opened, and require only a quick flick to close.
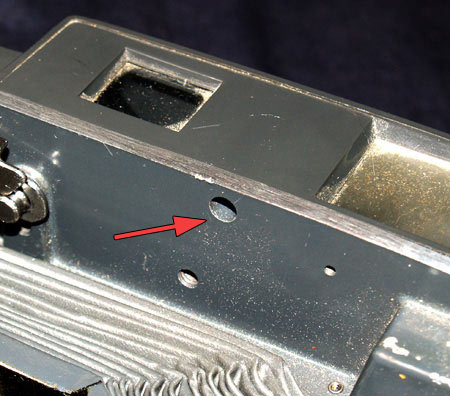
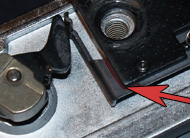
front screw location
Removing the finder is the same as the 110A.
A few screws for the plastic housing, and a few for the bottom plate and inner parts.
The easiest screw is found up front.
With the plastic housing gone, you can now see the wonderful engineering marvel that is the coupled rangefinder.
This is also a perfect moment to notice that the wrist strap on the 900 is NOT attached to the rangefinder plate like it is on other models.
If you want to keep the wrist strap and use this finder, a little engineering will be needed when fitting this to the 110A.

red: plate screws; yellow: mirror box
Remove the 3 screws, marked red, from the plate and it should be jiggle-able. Do NOT remove the last screw, marked yellow.
It will come off last so that you may mark infinity on the spring loaded mechanism.
But first a few more things need to come off.
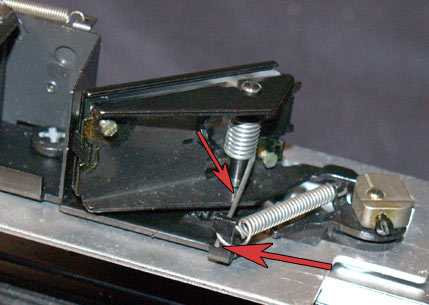
push the left tension spring out from notch
The mirror is kept taught against its rotation post by a tension spring.
If you simply push the spring out from the little notch in the metal tab, the mirror should come free.
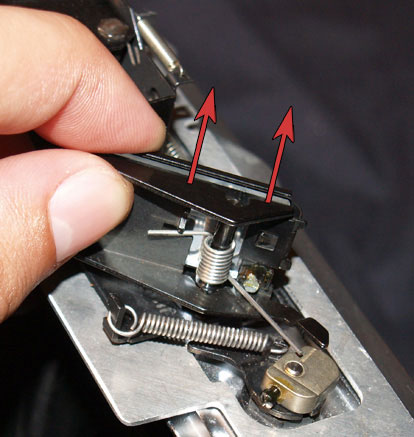
without tension the mirror comes right off
Now you may pull the mirror off with ease.
Do not lose the spring!
Now is the perfect time to mark infinity on the mechanism. Otherwise it will be truly difficult to replace the cam arm where it needs to be in relation to the spring loaded arm. I took this picture after I removed the post. DON’T DO THAT! Having both the post and the screw, marked yellow earlier, holds the mechanism down and keeps infinity true. I found it much easier to mark it with 2 lines, one vertical the other perpendicular so as to have 2 points of reference. Once marked, you can remove the screw, marked yellow before.
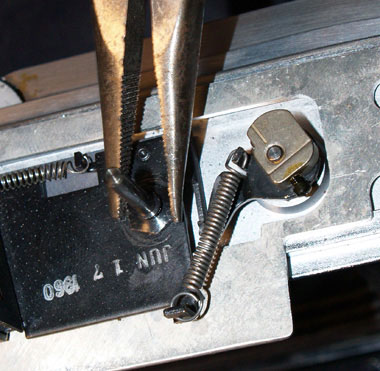
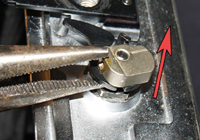
pliers or a wrench; don’t strip it
Notice how the post is a hex-nut. I’m sure you can find a small wrench to unscrew this, but I used my handy pliers. A wrench would definitely be warranted if it seemed stuck and you were going to strip it.
The mechanism should now come right off.
pry but don’t bend
The last part to remove is the cam and its arm. First loosen the cam’s screw.
Apply some pressure with pliers and the cam and arm should come off easily. Do not bend the arm!
We’ve now removed the plastic housing, bottom plate, mirror box, cam and arm, mirror and tension spring, mirror post, and all the screws.
With the entire 900 finder assembly removed, it is time to figure out how to get it to fit onto the 160.