Some info & photos in this step are copied directly from another project where it would be redundant to take additional photos.
To get a pack film back to fit a number of things must be done to the camera body. The side must be cut to allow the overhang and clasp.
measure from edge to end; ~5 inches
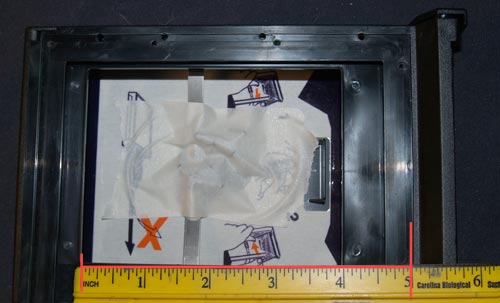
Place an empty film pack into the holder. This now gives you the actual location of the edges of the film.
This now tells you where the beginning of the cut must be.
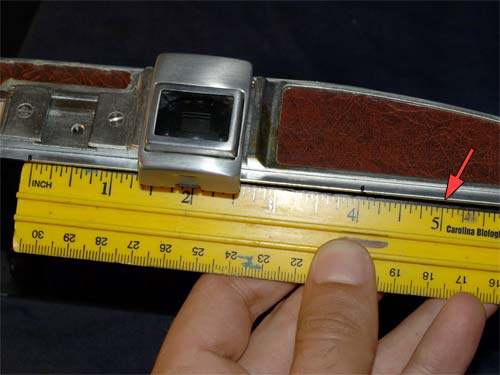
measure from edge to end; ~5 inches; mark: red arrow
From the left edge of the film plane, measure out the distance to the end of the film back. In this case it is 5 inches.
Mark the point, red arrow, where you will begin the cut.
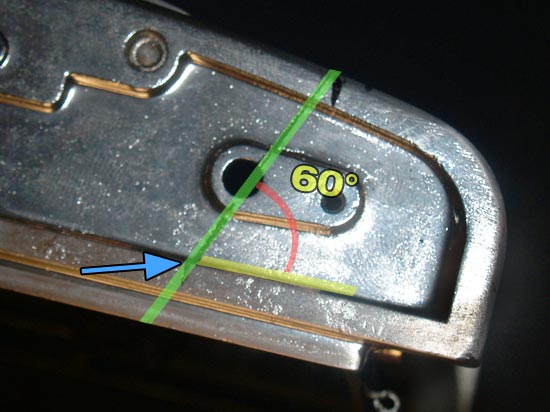
use beginning mark, blue arrow; mark miter cut, green arrow
With this beginning mark (blue arrow) you can now draw the cut.
It can be a straight line, but a miter cut would look much cleaner as it matches the film back’s angled edge.
I found 60 degrees to be a nice round number. Approximate but good.
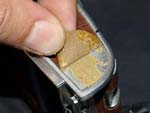
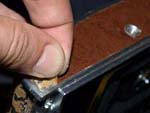 Before you cut, peel back the leather on the top and bottom of the camera.
Once the cut is made and covered you can replace it and cut it to match the new edge.
cover lens and bellows
Bust out your hacksaw, or, if you are fancy, a bandsaw, and cut the edge as straight as possible.
You can file/sand it later if you mess up.
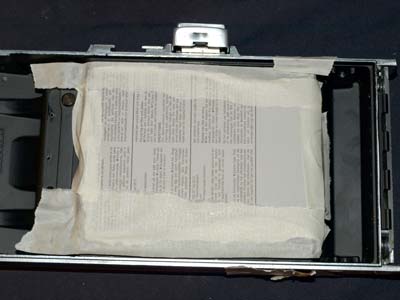
To keep things clean mask off places, like the bellows, with some tape.
When making the cut be careful not to mess up any surrounding metal, as unlike the other rollfilm models where a finder housing covers the top, the 95 is clean and you should keep it that way.
Don’t worry about how ugly the edge is, it will be cleaned up and made to look original in the next steps.