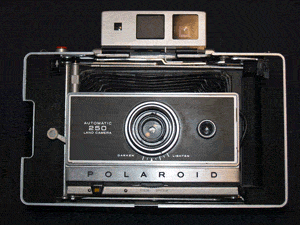
 This camera is extremely easy to use. Like all Automatic models, it has its 4 main parts marked with numbers.
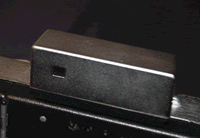
Though not marked with a number, the first thing to do is to fold up the finder.
It is on a hinge that locks in place with a magnet on the body.
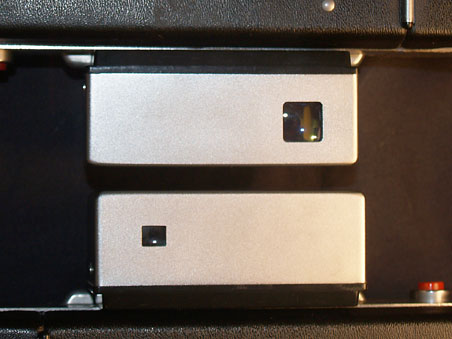
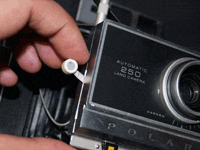
different eye pieces
A very odd thing about the 250 is that there are 2 versions of the finder. Both are made by Zeiss and differ only in the size of the peephole. I prefer the larger one, and for this second project, I am using one.
It is entirely possible to unscrew the outer metal casing of the finder, and cut out a larger eyepiece.
The inside didn’t change, just this outer shell.
Marked #1, you pull the black tab up and the camera should spring open.
To take a picture you need to correctly set the exposure controls.
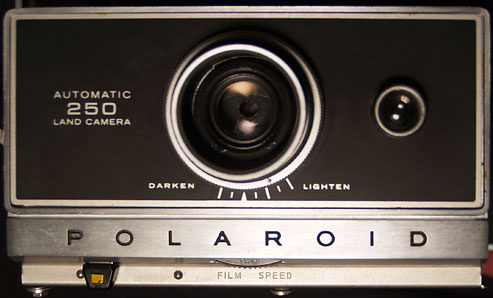
front; exposure controls, electric-eye and lens
On the front of the camera are the film controls. Which is as manual as this camera gets.
You set film speed at the bottom.
Turning the ring around the lens will change the exposure.
The little lens is the meter, electric-eye.
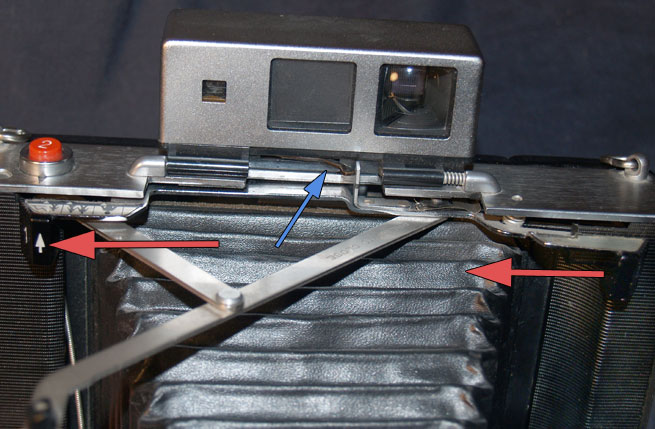
focus closer, red arrows; finder focus arm, blue arrow
Pulling the tabs to one side brings the lens forward and allows you to focus up close.
The finder changes to reflect the lens movement with a small arm attached to the struts, blue arrow.

stick people distance chart
I don’t know why someone at Polaroid didn’t go through the small trouble of actually marking some real distances on this chart here.
Instead, you get suggestions of focused distance by stick figures.
 Marked #3, is the shutter cocking arm.
Polaroid suggests cocking the shutter AFTER you take a picture, so as to have the camera ready at a moments notice.
But like any good photographer, you know a cocked shutter is not a good way to keep a camera at rest.
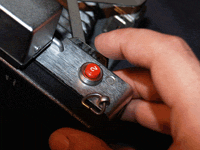
The last thing to do is press the shutter release button.
Marked #2, it is a plastic button cable release.
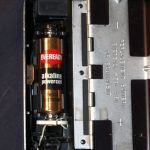
And of course, this being an Automatic camera, uses a battery to power its circuits.
As usual, its an odd size you would be hard pressed to find today.
This will be a fully manual camera, no electric power required!