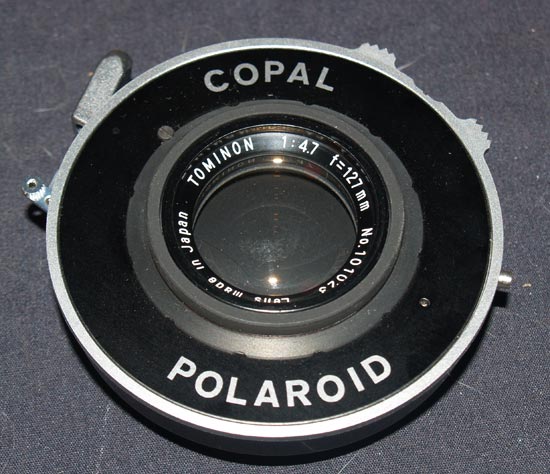
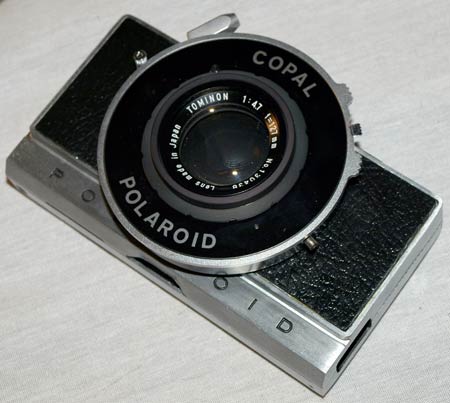
Tominon 127mm; Copal shutter; x-sync
This is a good time to point out that this particular project is dealing ONLY with a 127mm lens. Which is 13mm longer than the stock lens of the 250.
When choosing which of the 2 halves of the lensboard to attach your lens to, take this distance from stock into consideration.
Less than stock places the lens further back, towards the film plane. More than stock places the lens further out.
To figure out which will work best, I attached the lens to the bellows without the lensboard. Using a makeshift ground glass, I tested for infinity focus. Hold the lens, attached to the bellows, in one hand and with the shutter open watch the ground glass until infinity is in focus.I made a measurement of the distance from the film plane to where I found infinity. Re-assembling the lensboard pieces and focus arms, use this measurement to see where this focus point lies.
With my 127mm I found that if you put it onto the front lensboard, it is almost exactly 13mm out from the original focal point. What a nice fit!
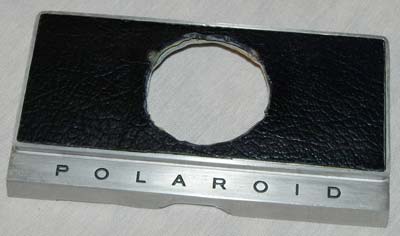
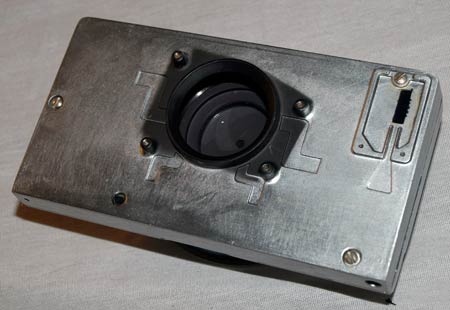
Obviously the diameter of the new lens is larger than the original one. To fit, you need to enlarge this circle.
The retaining ring can be used as a guide to show you the area to be removed.
File, grind, drill, whatever you gotta do. Once really close to fitting, constantly fit and refit until it just slips in without force.
Once complete, you should cover the front with something.
Use the original covering as a template and cut yourself something.
I found some textured plastic I cut to shape.
I think this compliments the original design quite well.
Using contact cement and some good ol’ fashioned pressure, it is attached for good.
fill light gaps; paint black
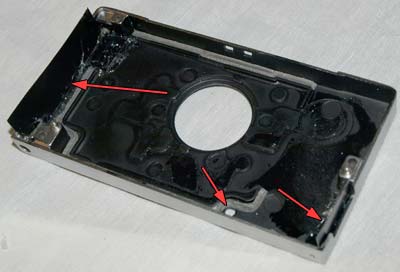
If you put both halves of the lensboard together, you will notice alot of gaps, open areas, and holes.
 These must be covered to prevent stray light from entering the bellows in anyway.
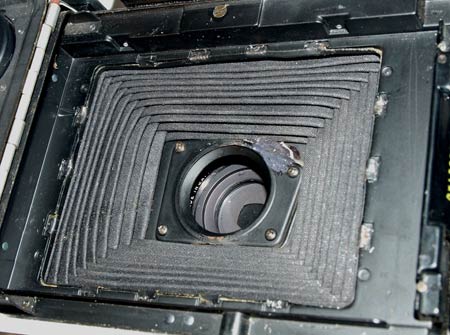
put lens to board
Now is the time to put the lens into the board. Use the retaining ring to clamp it down as hard as you can.
You don’t want the simple turning of the shutter speeds to move the whole thing.
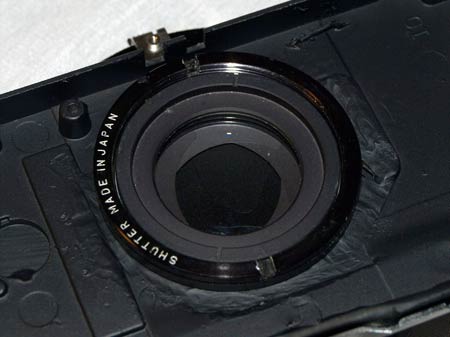
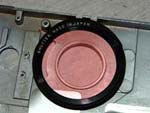
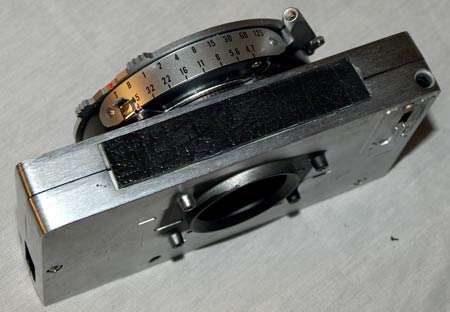
retaining ring in place
You can clearly see in this photo how I had to grind out some of the backside of the board.
The thickness of the black material on the front kept the ring from catching. You may or may not need to do this.
replace the screws; close the lensboard
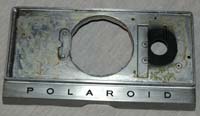
Close up the lensboard by replacing the 3 screws that hold it together.
Check for light leaks.
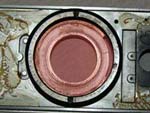
retaining ring in place
You can clearly see in this photo how I had to grind out some of the backside of the board.
The thickness of the black material on the front kept the ring from catching. You may or may not need to do this.
cover the top
Obviously you need to cover the 4 square holes on top.
I used another piece of the same plastic I used for the front. A little glue and its a good fit.
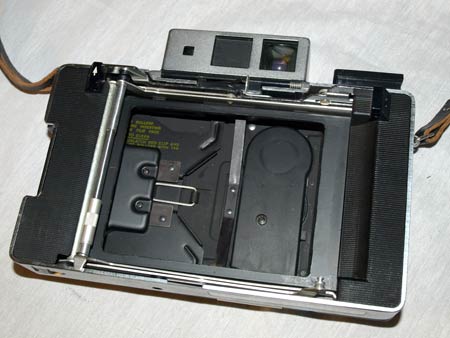
bellows gone; camera cleaned
Take this opportunity to clean the camera inside and out.
Without the bellows and lens in the way, this is alot easier now.
bend tabs to fit bellows
Replace the bellows by bending the tabs back into place.
Put everything back together.