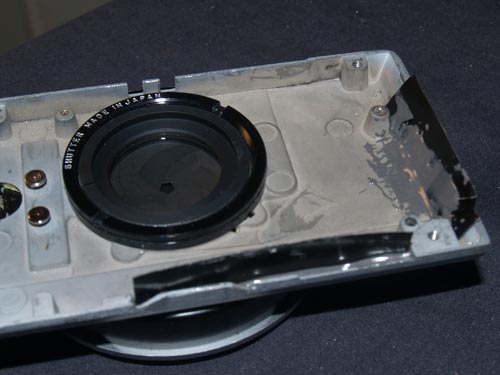
To close off the openings in the two halves, I figured why not use parts lying around.
The typical metal film pack leftovers made nice strips that I glued into place after fitting them after alot of trial and error.
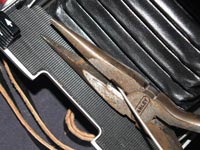
A tight fit is a must.
side slit and bottom openings covered
JB Weld made a good permanent glue.
Give the pieces a slight outward bend to make a good tension seal when closed.
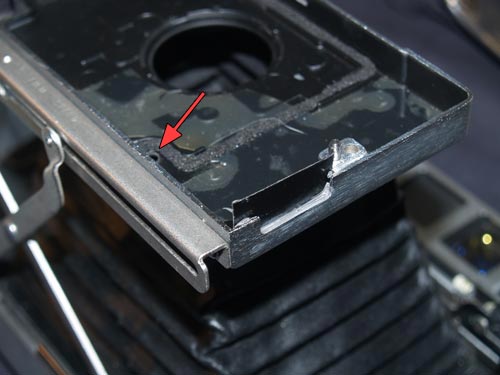
side flash socket opening; don’t forget the small hole, red arrow
Not pictured, but noted with red arrow, is a covering of the small hole in the back half.
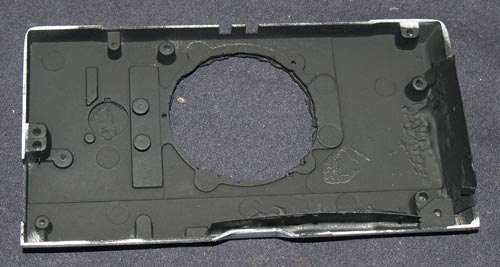
paint the inside flat black
You’ll notice that the back half is painted black on the inside.
Do the same to the other half, not only for symmetry no one will ever see, but to just make extra sure no reflections occur inside the board.
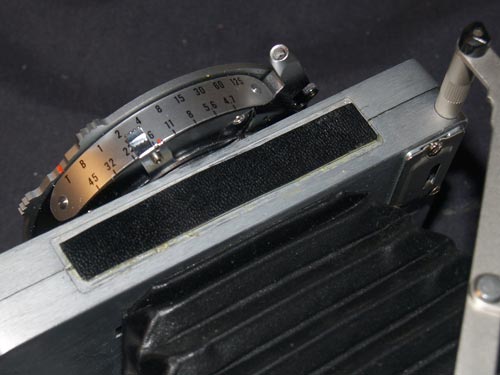
covering the top opening
Once the two halves are closed and screwed back together, there is still the missing top label and something to cover those 4 little holes.
I took another piece of leather like what is on the front lensboard, and glued it into place.
Since the cable release wont even reach the shutter, just snip it off and tuck it under the edge.
The red #2 button will pop out.
Cut it off, repaint it and glue it back into place so you don’t have an ugly hole.