 The switch that came with the kit should have 2 metal washers attached to it.
These will let the switch sit the perfect distance inside the shutter housing and give it some rigidity.
 To make the switch fit the internal design of the shutter housing you will need to cut or file down 2 of the sides.
This will let the switch sit flush and solidly in the correct position.
If it is easier, you may remove the washers from the switch while you modify them.
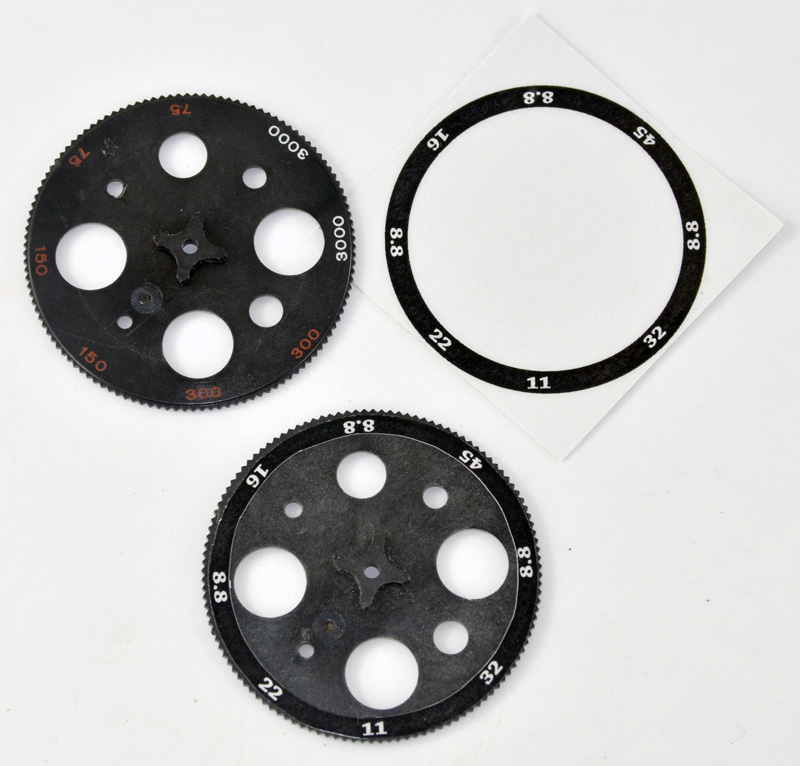 Remove your aperture wheel by taking off the 2 clips. Do not lose these clips, especially the tiny one for the center.
Trim around the edge of the aperture sticker and then cut a hole in the middle to accommodate the center 4 pointed bump of the wheel.
Notice 3 holes are the exact same size and one hole opposite is smaller. These are f8.8 and f11 respectively.
Use your best judgement to apply the sticker in the proper orientation. A little off is no big deal. Make sure you realize that the number goes opposite the actual hole the lens uses.
Once attached, cut out the remaining white portion of the sticker.
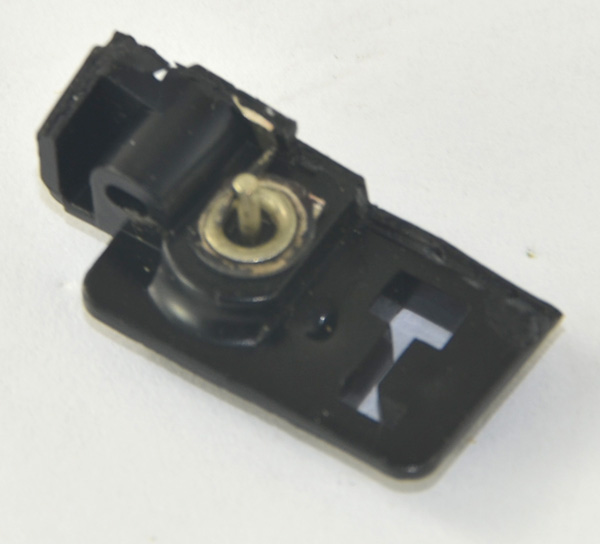 Go back to the circuit you saved from the beginning and cut it down until all you have is the PC port and some extra plastic.
You need this piece for connecting a flash to your camera and to seal a big hole in the shutter housing.
Glue a piece of black plastic, or something opaque, to cover the shaped opening next to the port.
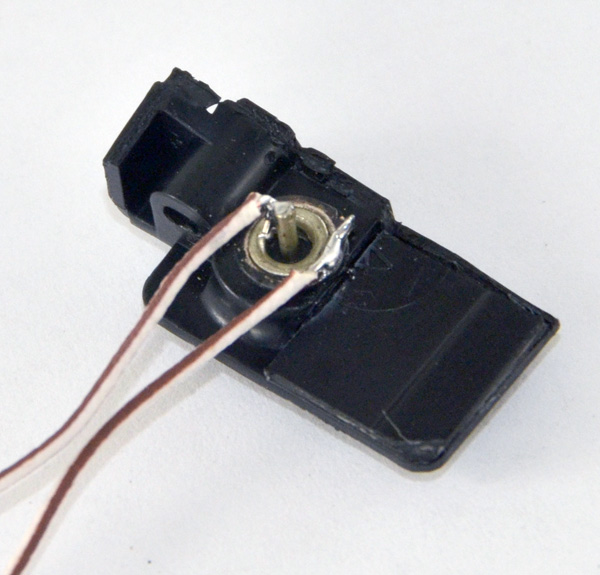
Solder 2 wires to the PC port.
One to the center pin.
One to the outer shield. (you may need to scratch some metal off to get solder to stick)
Check for continuity with a multimeter and be sure they are not shorted together.
Wires should be long enough to go from one side of the shutter to the other. We will trim later and its better to be longer than too short.
 Using one of the original screws attach the PC port back where it belongs.
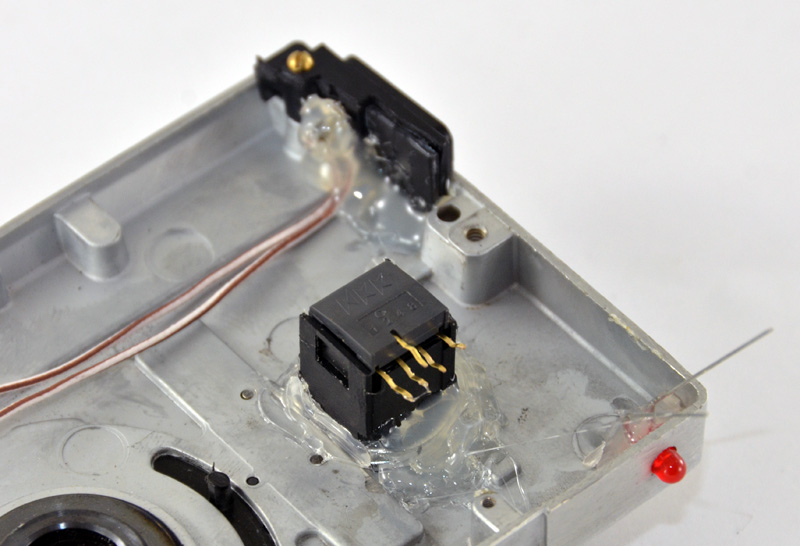
The switch can now be placed so that the pins point to the top of the shutter housing.
There are some extra metal bits you may need to grind away for a proper fit. Check from the front of the housing for centering of the switch as best you can.
Place the LED through the hole you drilled earlier.
Use hot glue to hold everything in place and don’t be shy about it.