 Bring the 2 wires from the flash port through the last hole drilled in the mechanics. Solder these two the 2 copper connections you adjusted for X-sync. A drop of hot glue holds them in place fast.
Attach the shutter mechanics to the front half of the shutter housing with the 2 screws removed earlier. The brass screw goes under the spring at the top and the black screw above the magnet.
Remember the longer LED pin is + and the short one is negative. Connect it to the circuit.
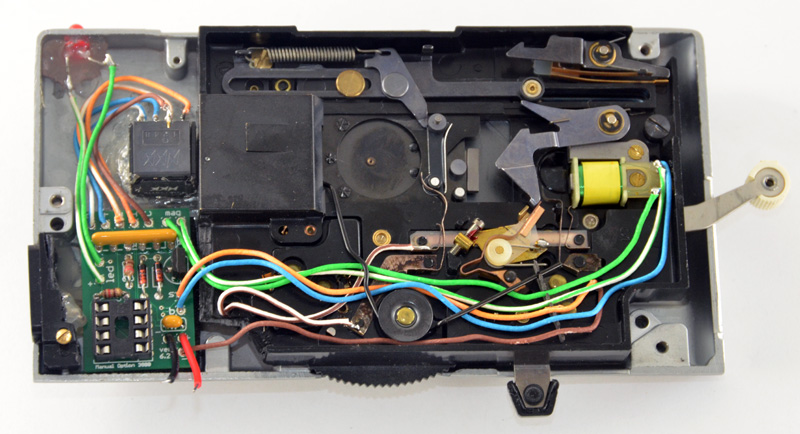
Attach the magnet wires, doesn’t matter which goes where. Attach the shutter and button wires. Attach the ground wire.
Match the numbers printed on the circuit board to the numbers on the switch pins. 8, 4, 2, 1, C
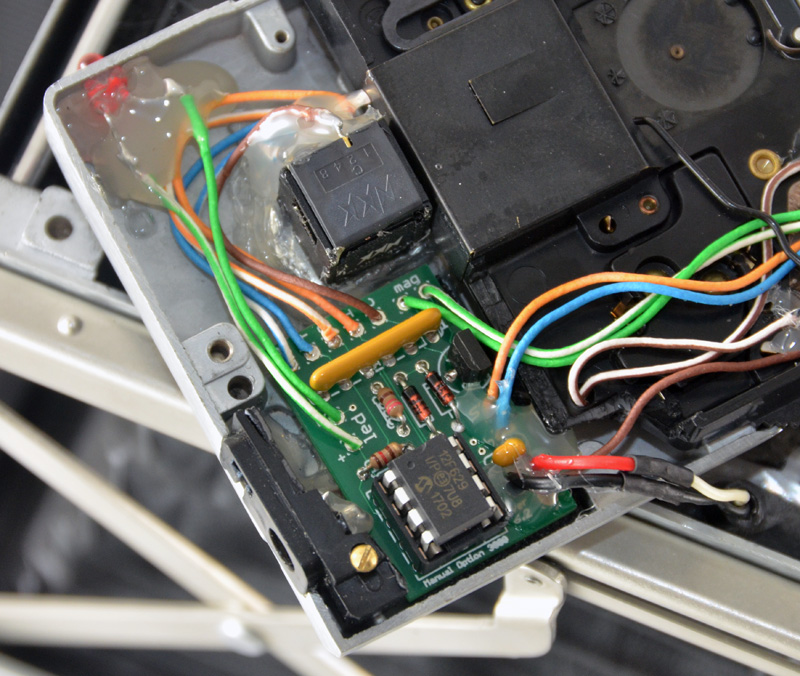 Solder the power wires from the camera to the circuit. White is positive and black is negative.
Use heatshrink tubing or other sealing method to keep power wires from shorting together.
Put the microcontroller back into the socket gently, but firmly.
Test the camera with 3xAAA batteries before you move any further.
When you set the shutter the LED should immediately light up.
When you fire the shutter the LED should remain lit up until the shutter closes.
BULB mode should work by firing it once to open and firing again to close.
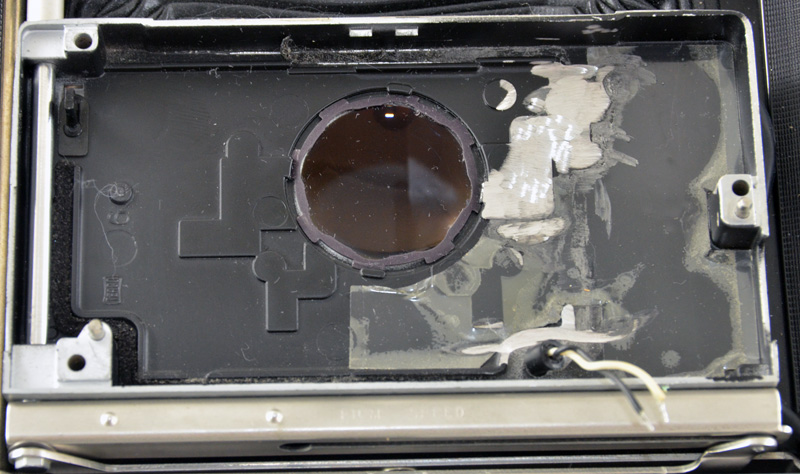
Only do the following step if AFTER you’ve put the shutter housing back together it seems either tight or uneven. This is an optional step but sometimes it helps with fitting everything back inside the shutter housing.
Grind down and remove the area in the photo.
Being careful to not scratch or dirty the lens or to cut the power wires by covering them with masking tape.
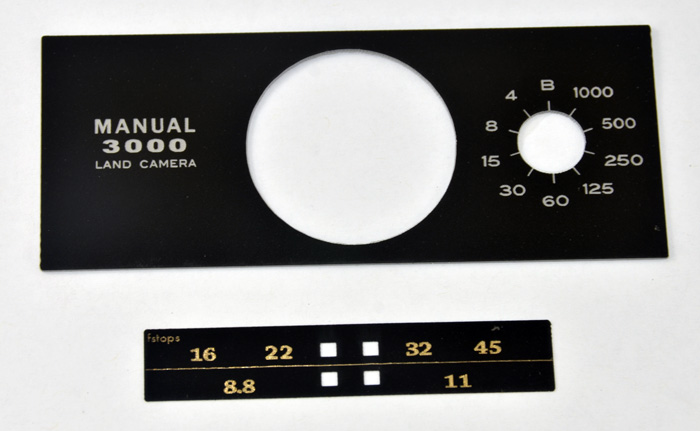 No front panel or top sticker is included in the kit unless custom ordered.
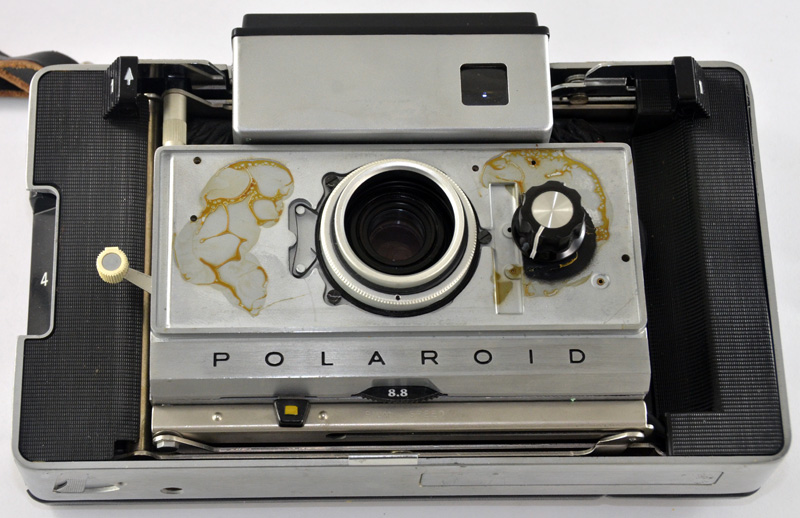
Use this image of my typical design front panel to be aware of the shutter dial settings.
 Close up the camera and be sure to replace the L-shaped metal light shield that goes near the cable release port.
Attach the knob to the dial. You may need to cut the shaft by a few millimeters if the knob sits too high.
Test the aperture wheel moves freely and isnt stiff, sticky or loose.
You’re all done! Enjoy.